Hello, I’m Motan, a Japanese modeler.
I’m sorry for the late update.
Well, it ’s a continuation of Wing Gundam EW production.
Today we will show you all at once.
Contents
[First, before painting. . . ]
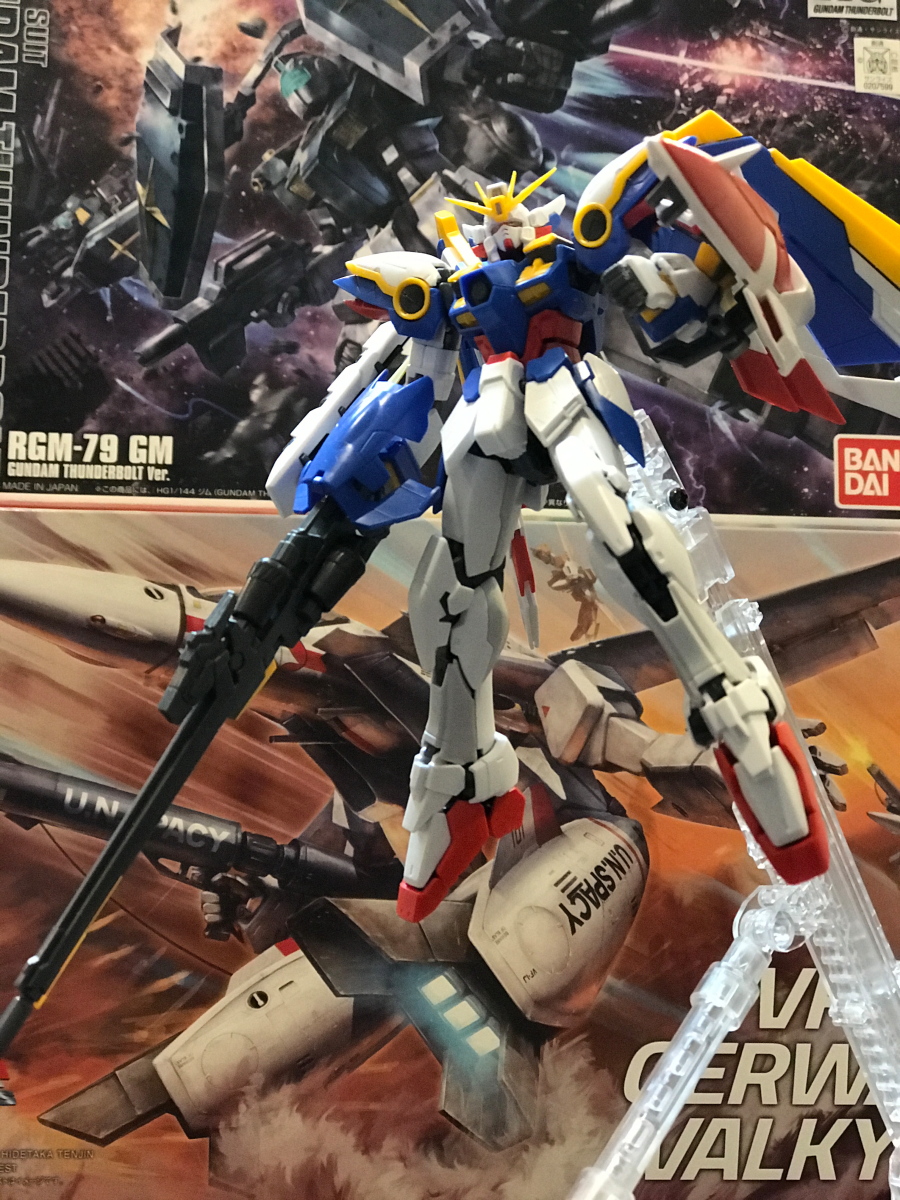
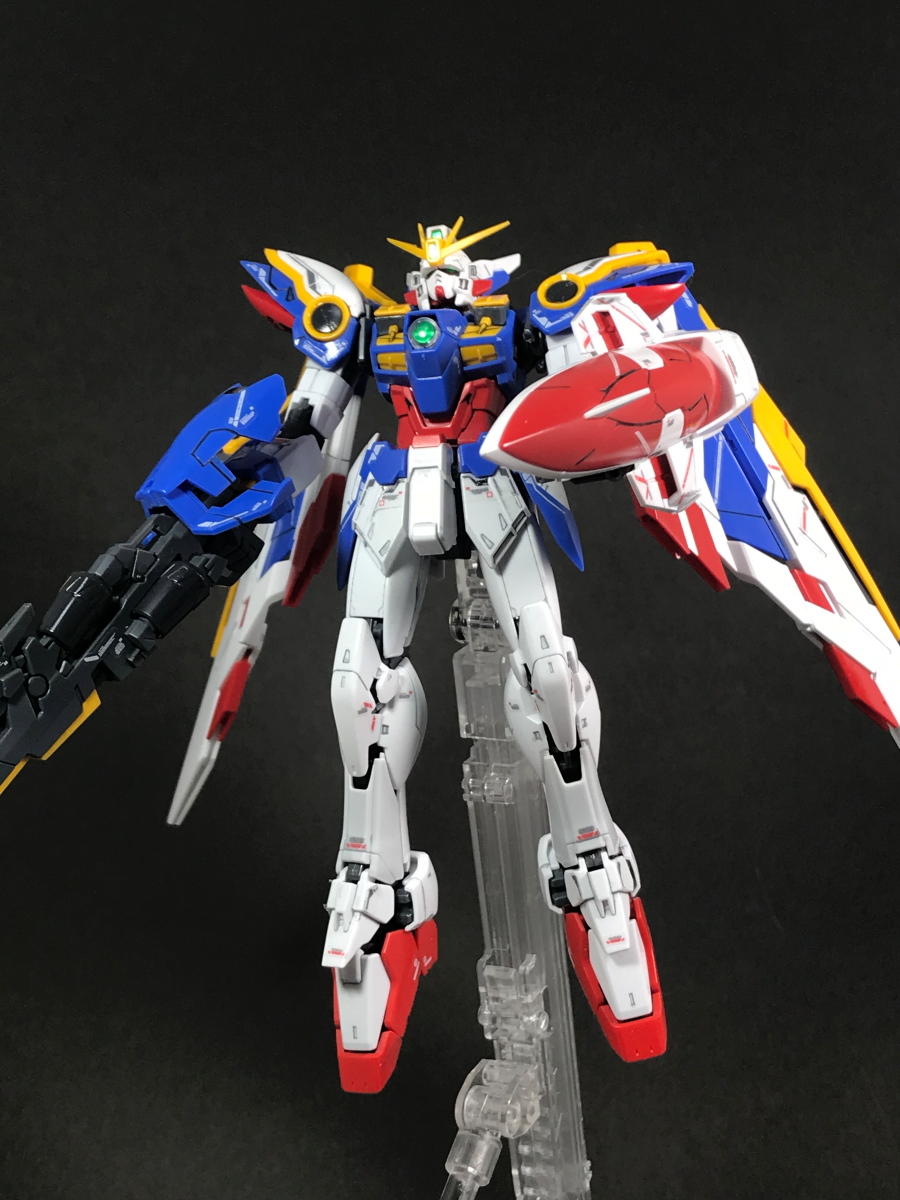
I finished arming and put it on the stand.
Wing Gundam is cool in the air.
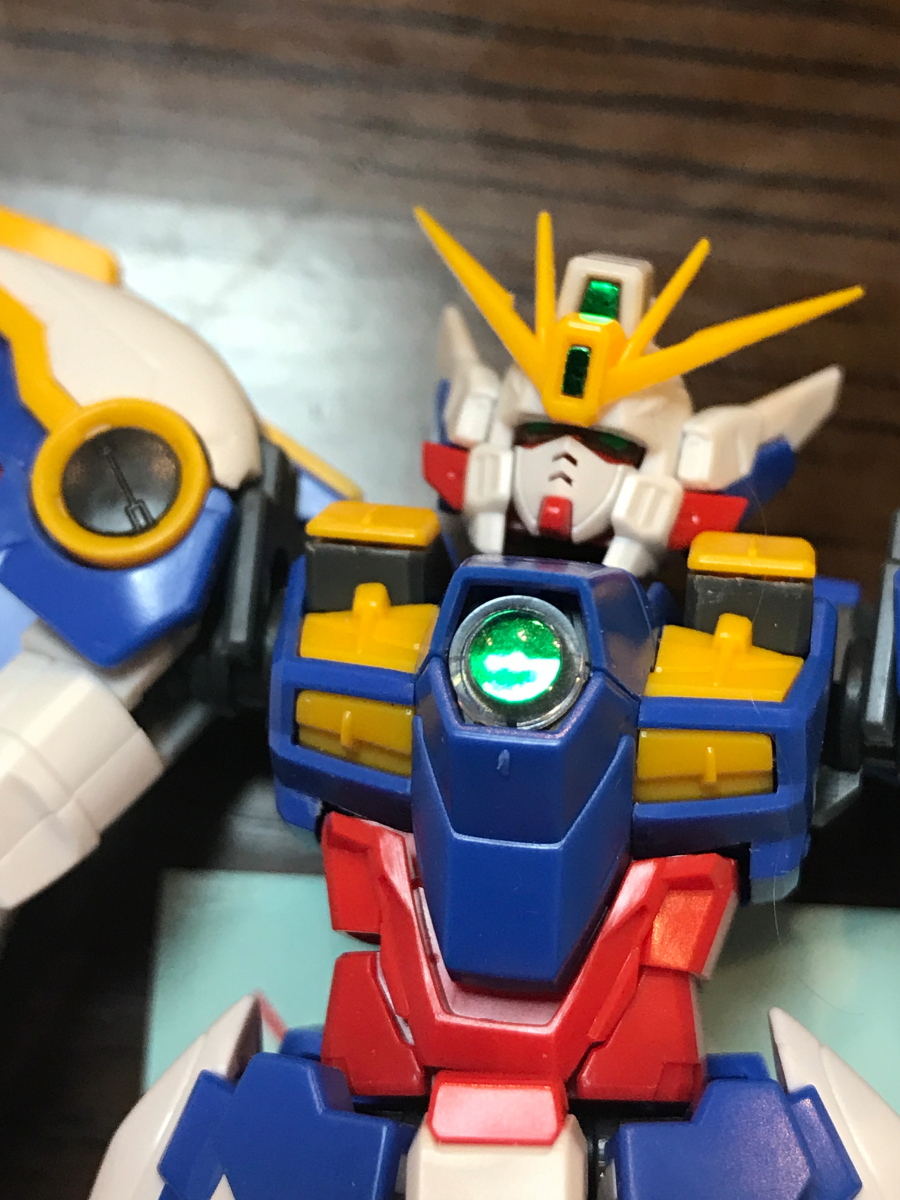
[Affix a foil seal. . . ]
At first, I intended to paint the clear parts.
However, I was tired just making a kit, so I decided to put a foil seal.
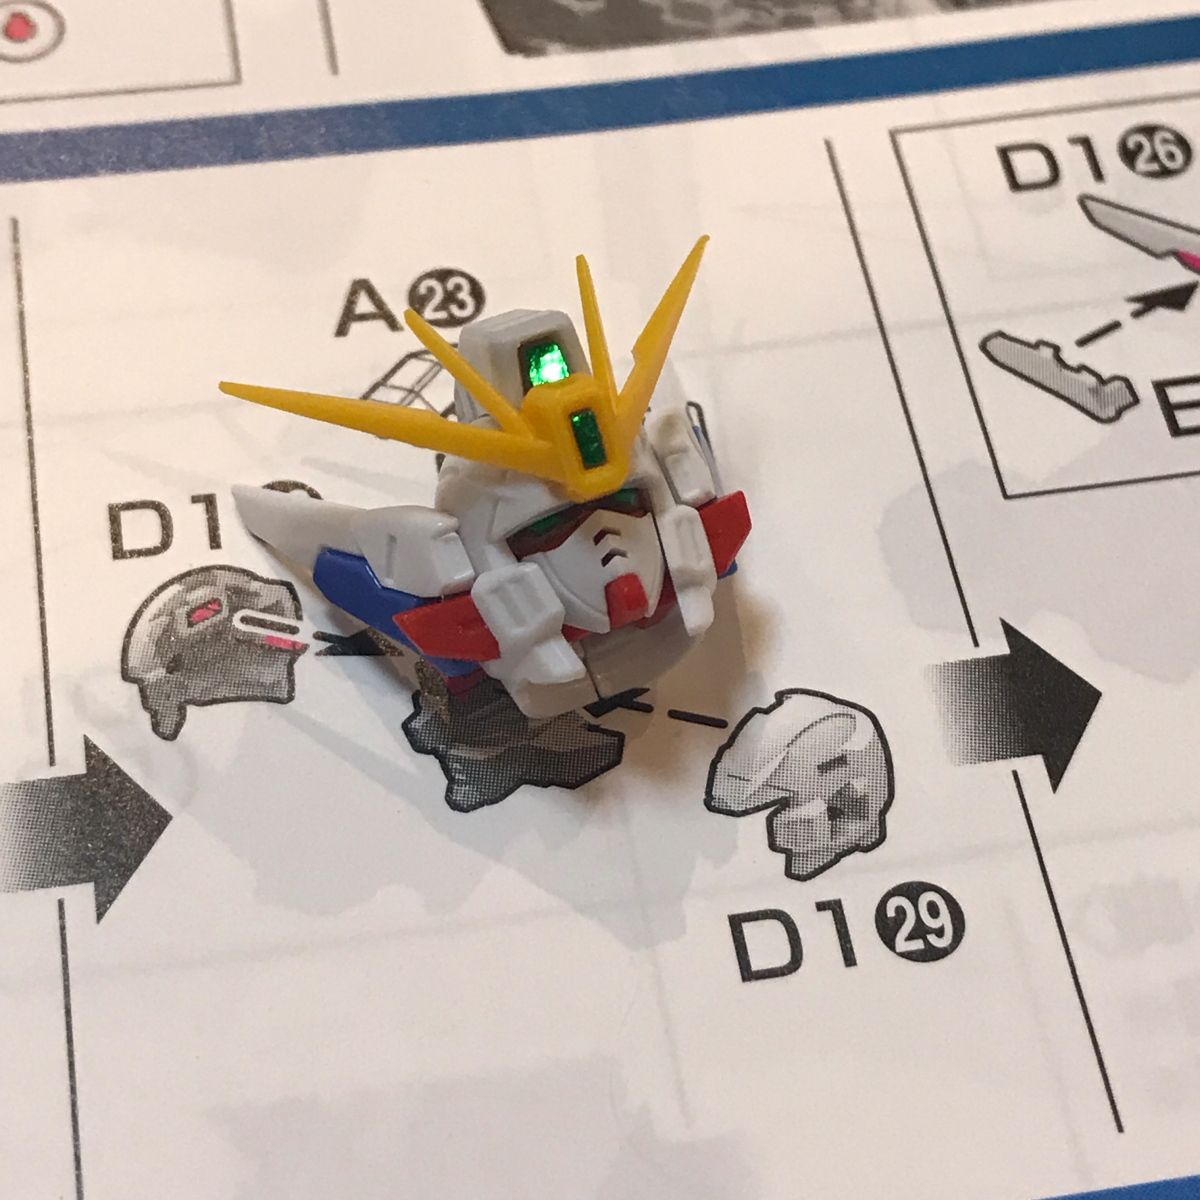
It ’s a good feeling. . .
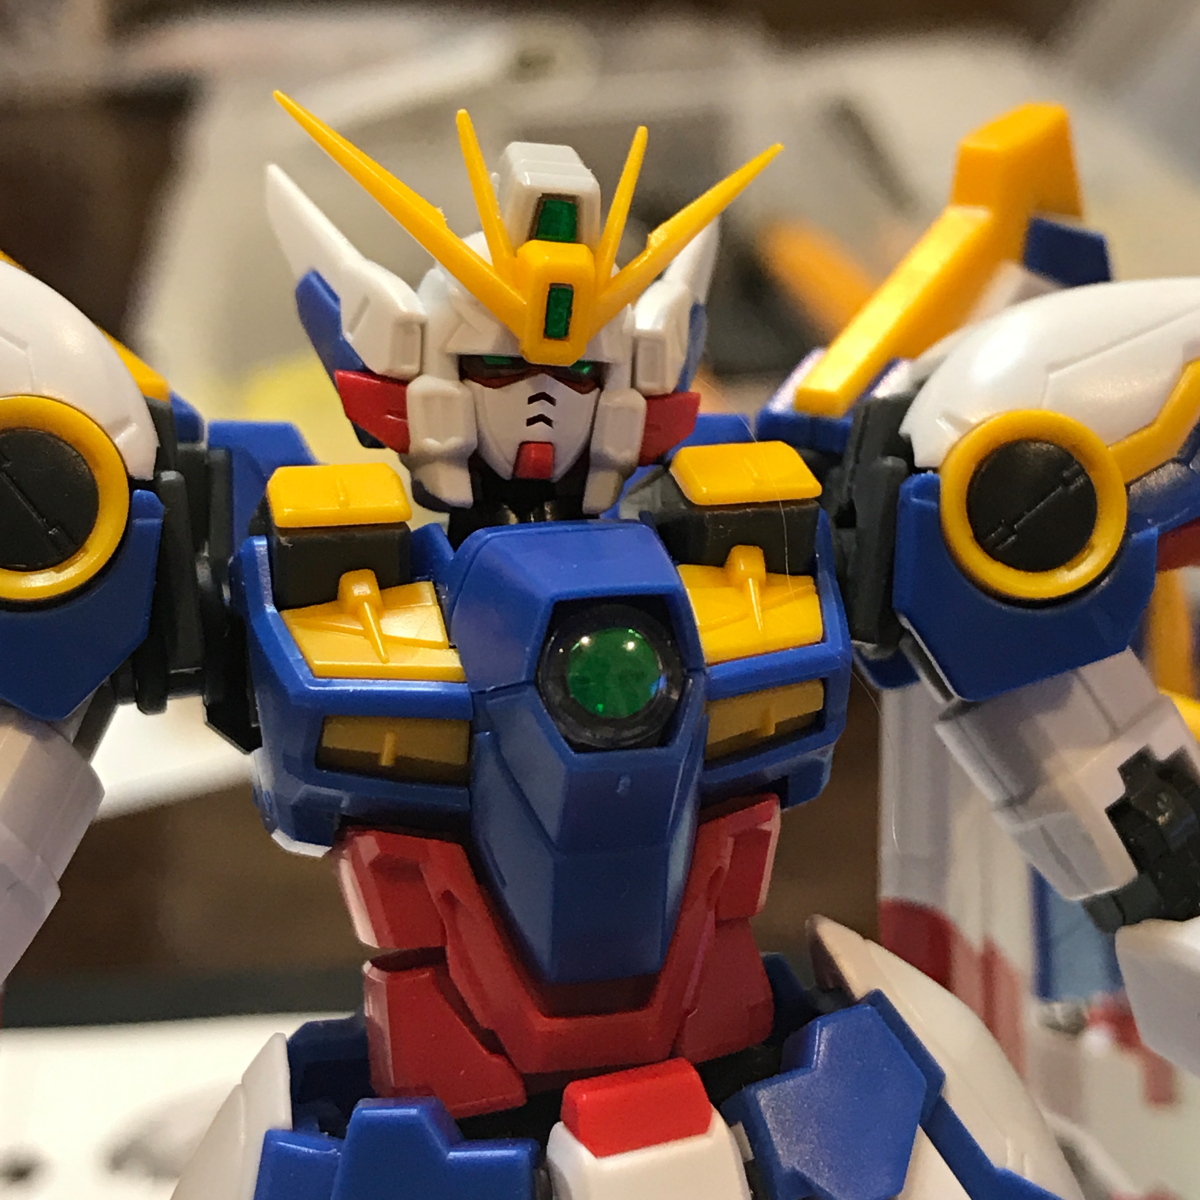
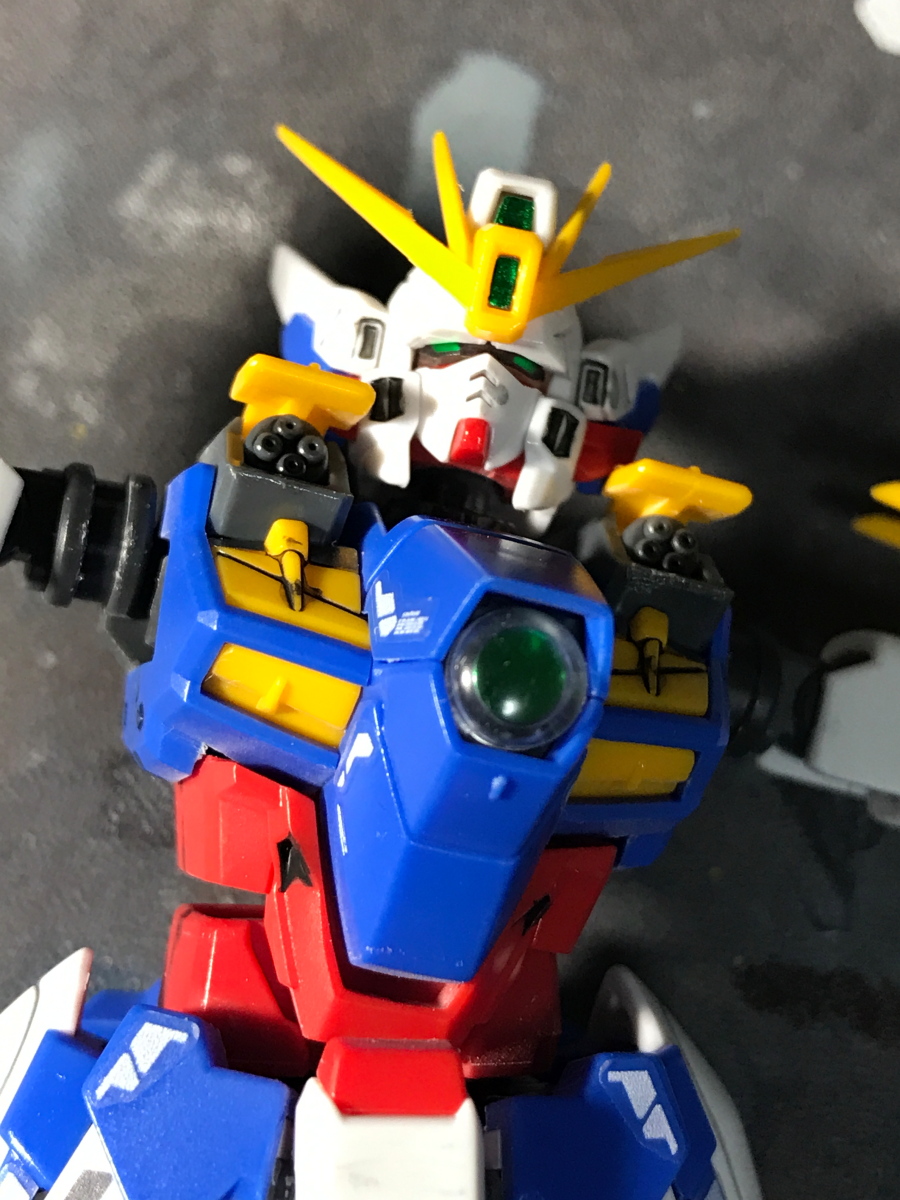
I was particularly surprised by the clear parts of my chest.
This glossy feeling is amazing.
[Add a marking sticker. . . ]
Next is the marking sticker.
This is also a great number of seals. . .
Huh.
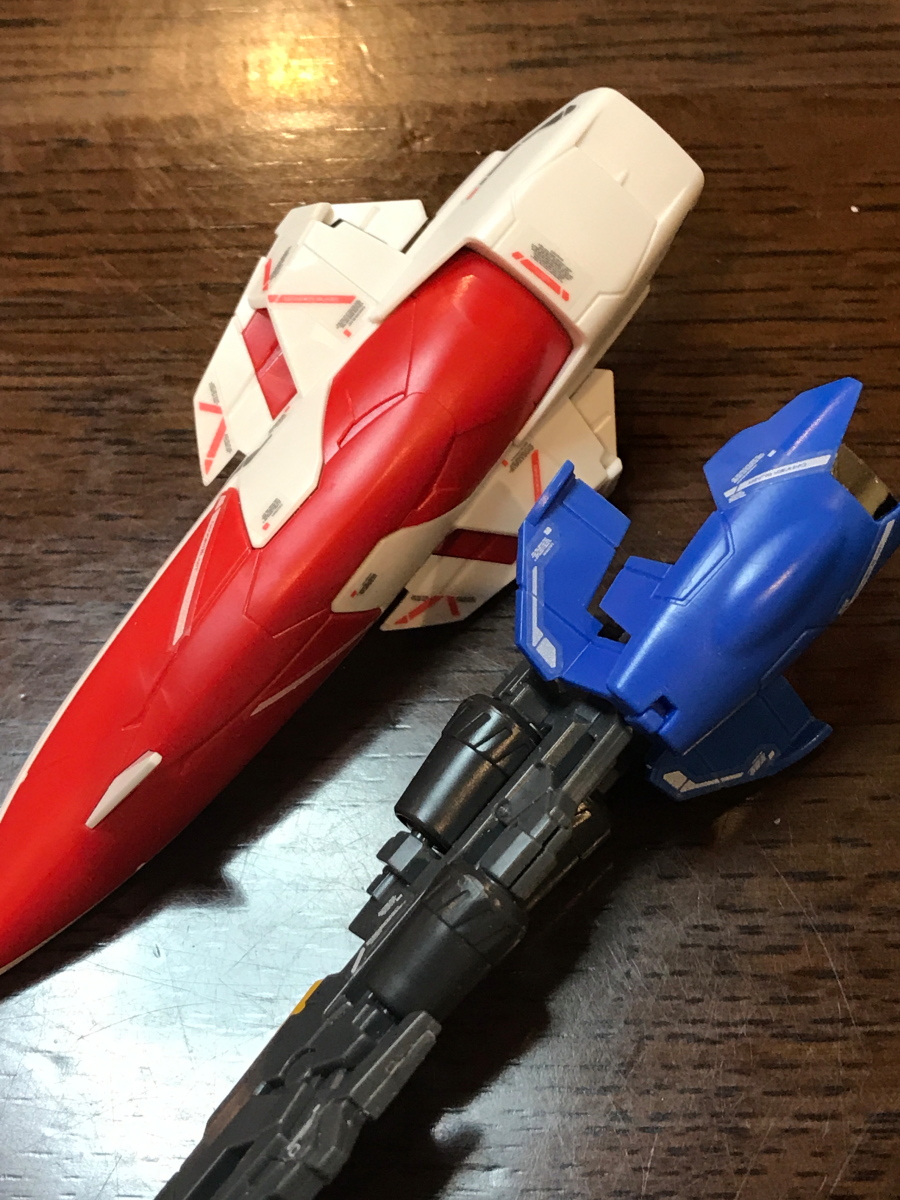
First of all, I will stick it from the weapon.
The sticker itself has an adhesive strength and is easy to apply.
However, before applying the sticker, I thought it would be better to cut off some margins.
Here is the state after applying the sticker.
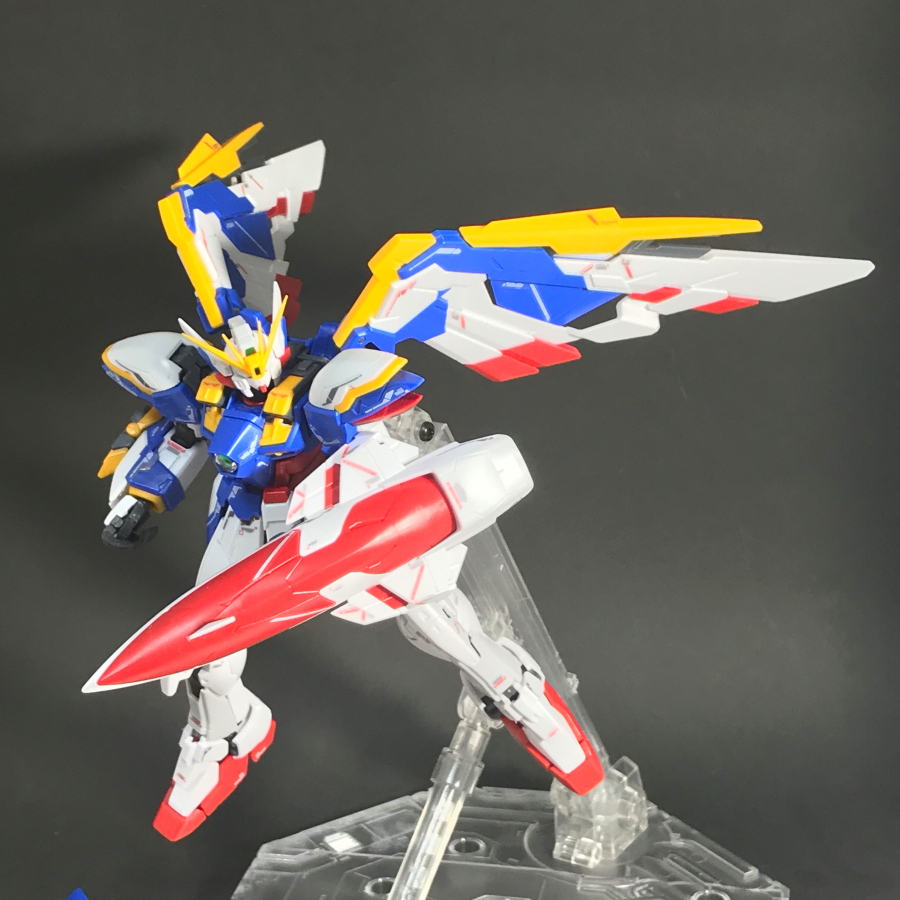
The amount of information is increasing.
[Start of inking. . . ]
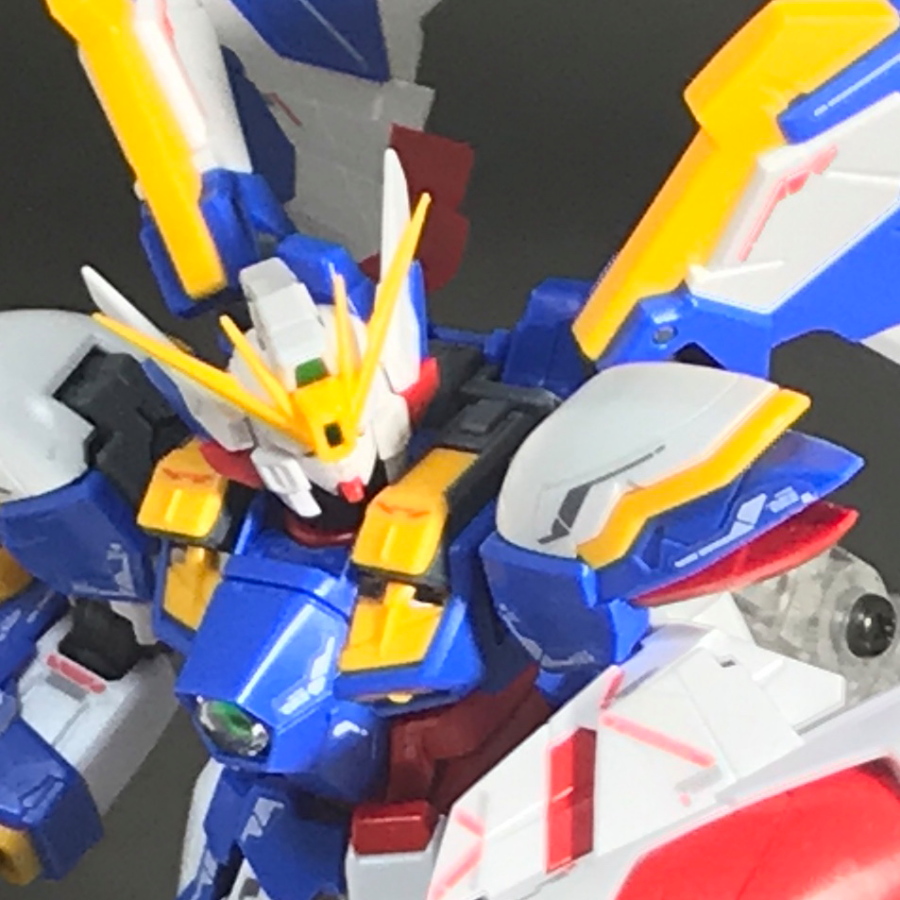
Next is inking.
This is a photo of the work in progress.
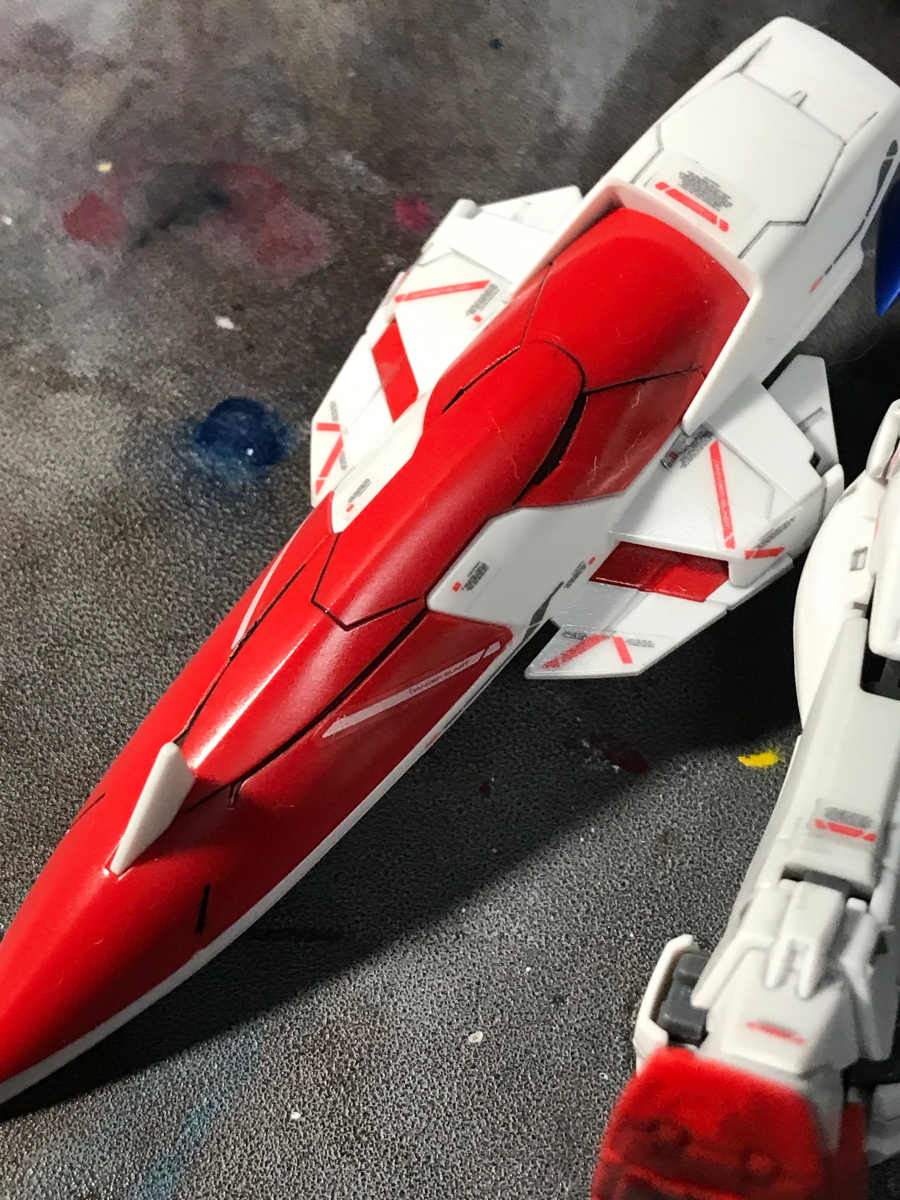
The shield became cool at once.
By the way, “black” paint is used for dark parts, and “gray” paint is used for bright (white) parts.
My friend told me, “If you use black ink for all parts, it will look like a toy.”
The gray paint will give enough shade, and will not remain more than necessary when wiping.
So , I use gray paint for light-colored parts.
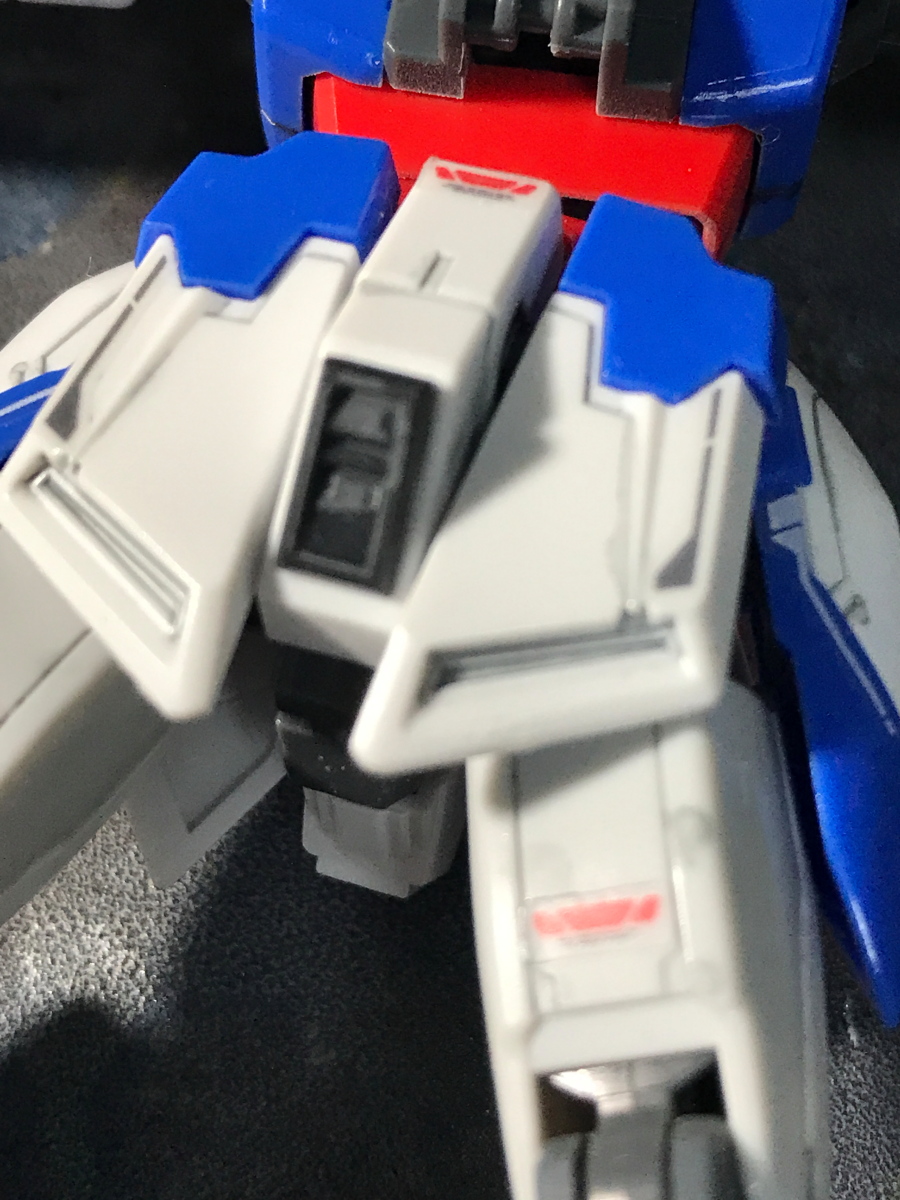
A state where inking ink other than wings has been completed.
It’s cool even without wings.
This time, the gloss clear is blown once before inking.
One reason is to protect the parts.
The other is to make recovery easier in case of emergency.
Inking is done with enamel paint on top of the lacquer paint, so it is easier to wipe it off later by blowing a clear gloss on the base.
[Before inking and After inking. . . ]
So, inking is complete.
Compare it. . .
(Before inking)

(After inking)
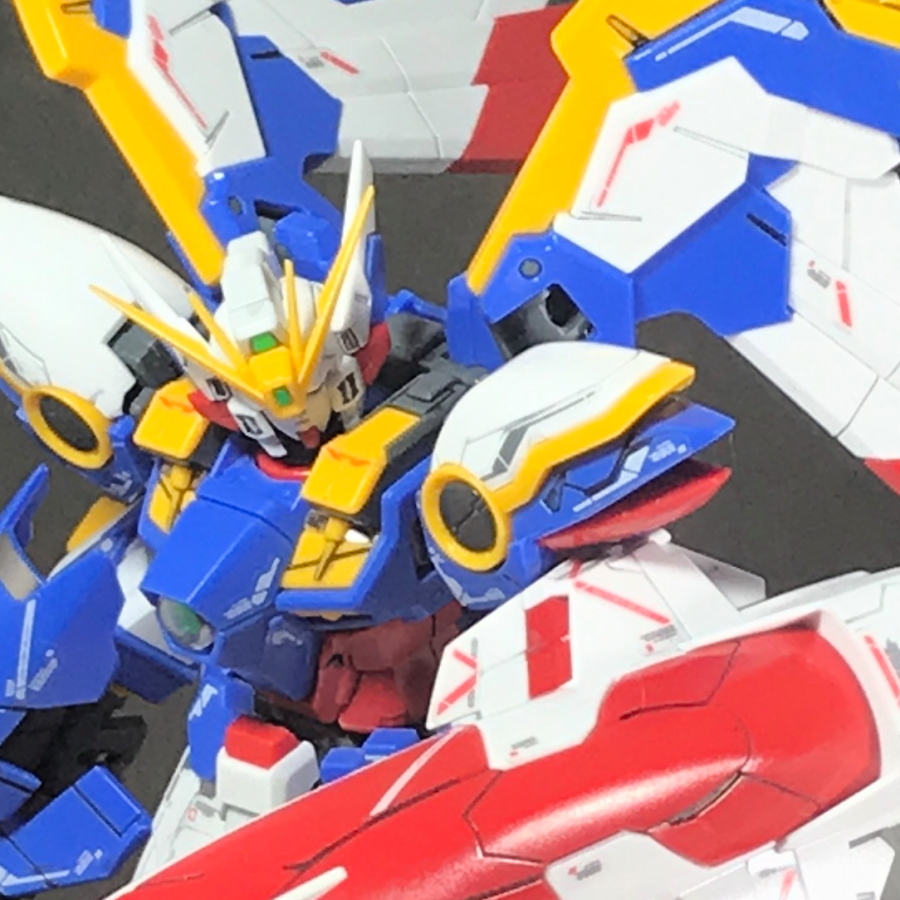
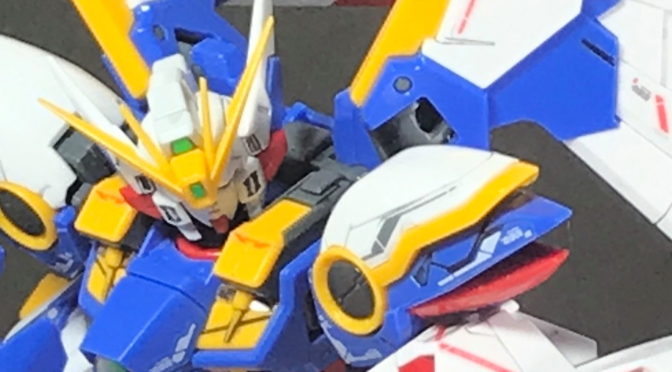
After all, its face is very tight.
[Gallery. . . ]
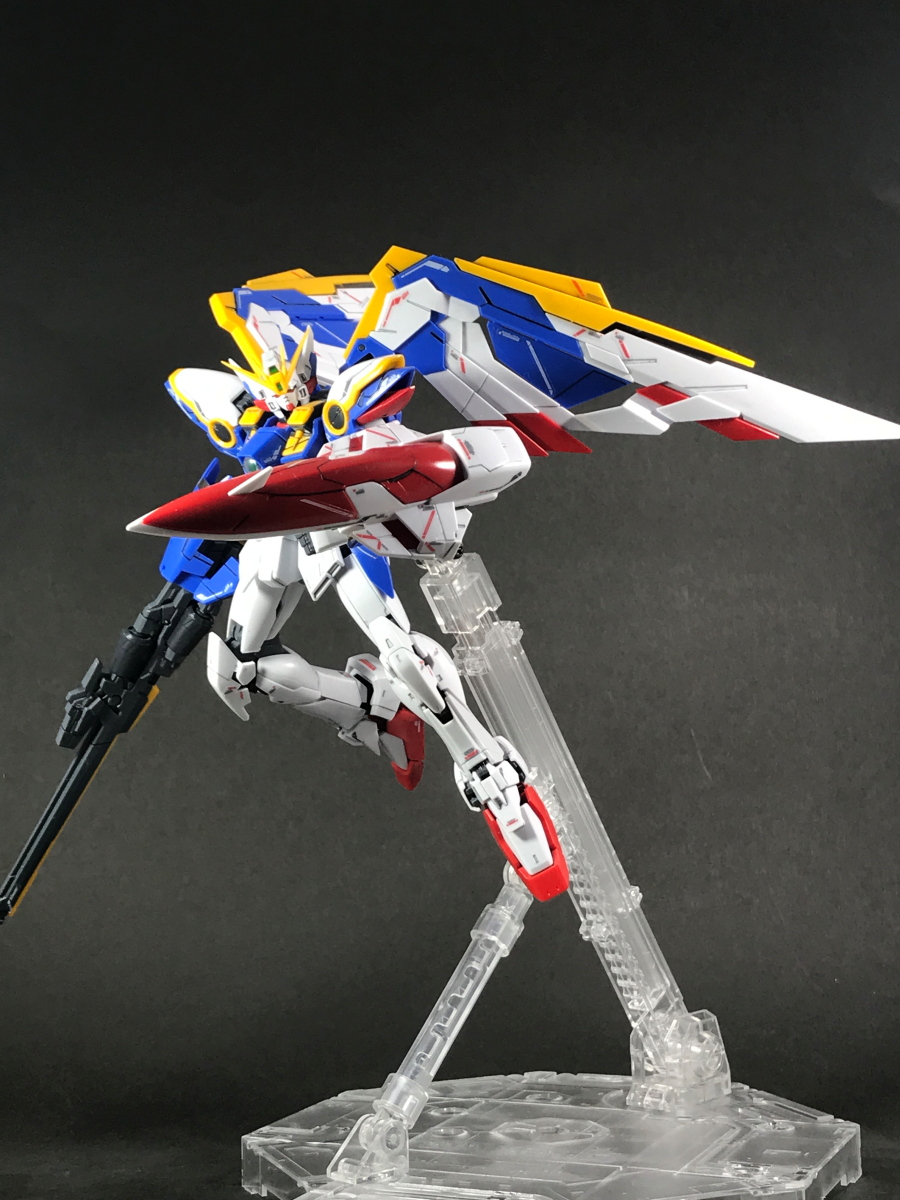
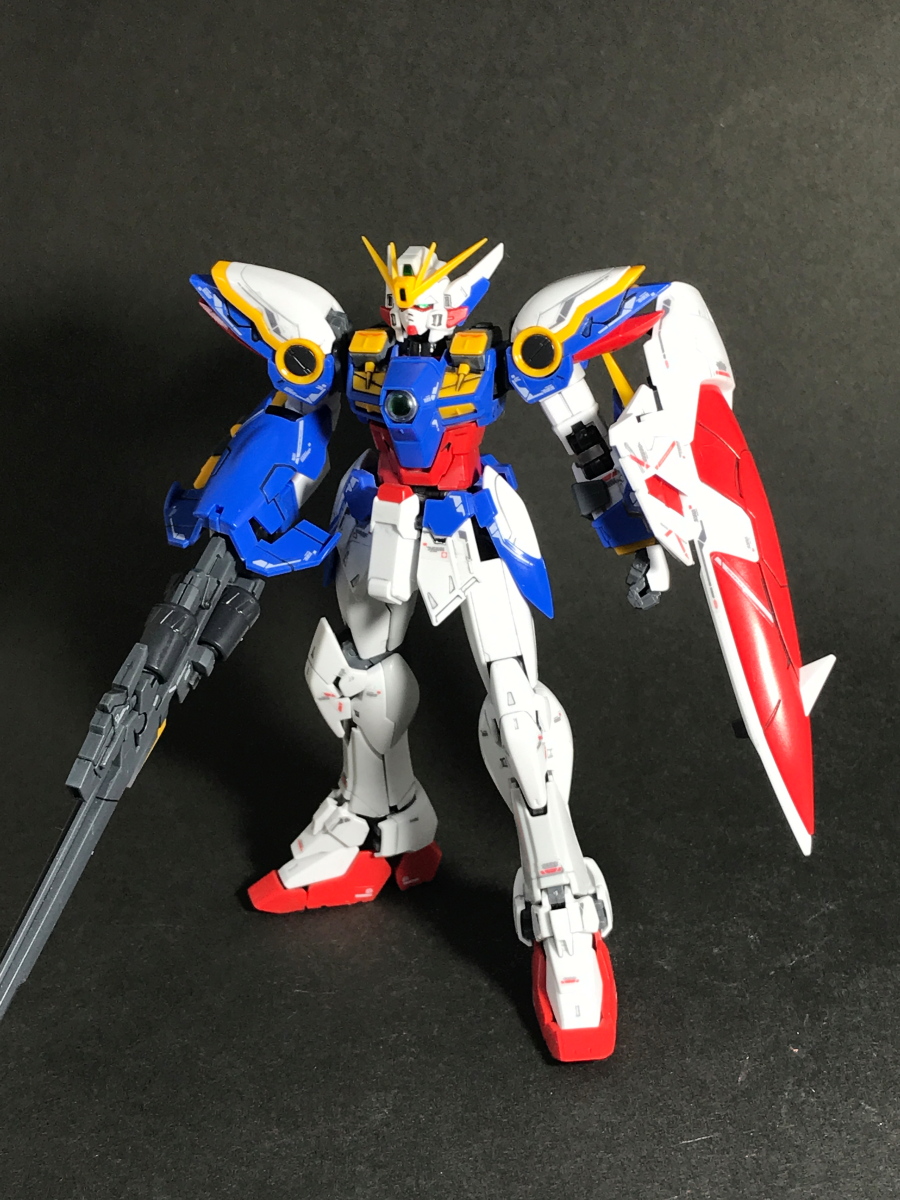
Although the shooting booth is small, it’s not so cool, but after all the wing gundam’s shooting scene is cool.
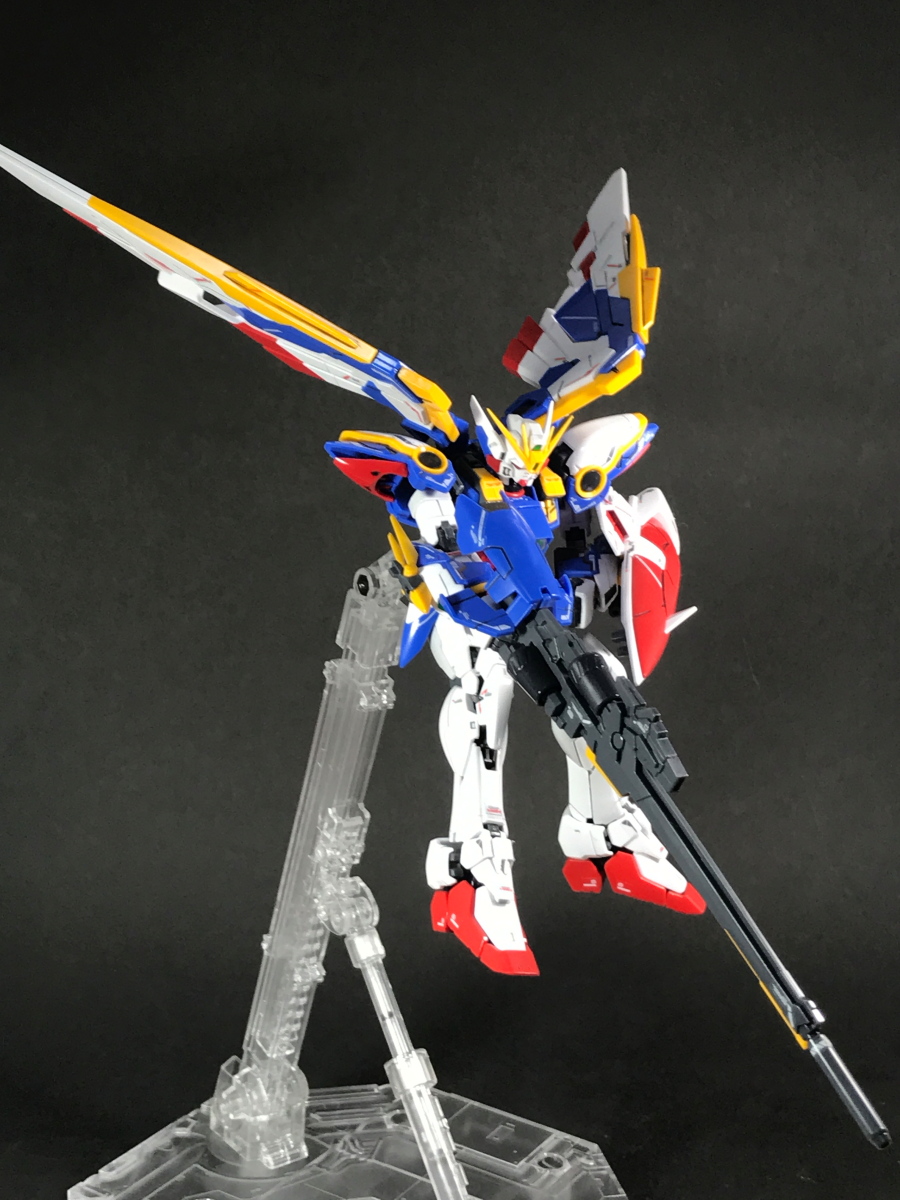
It looks like Captain Zeon.
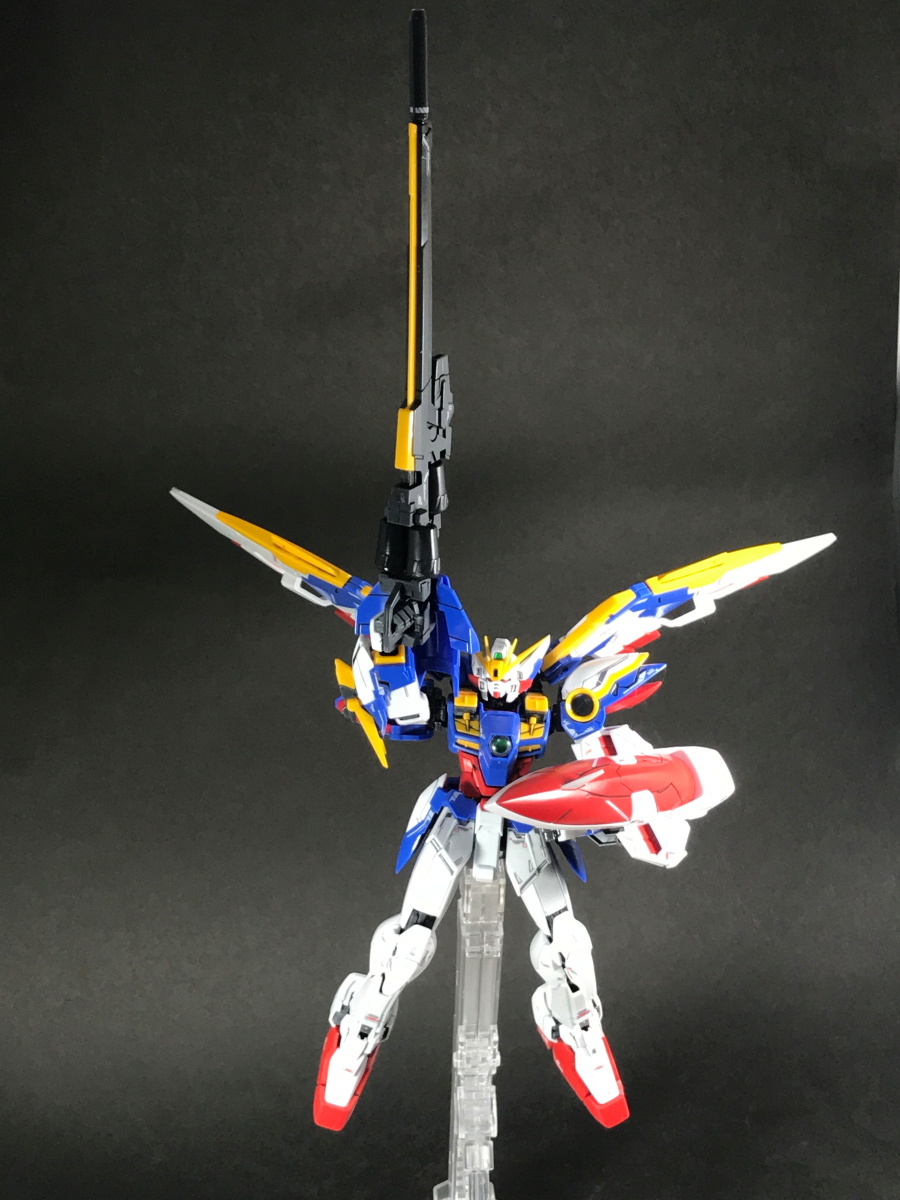
Upper body. I think that the effect of inking is the best in this area.
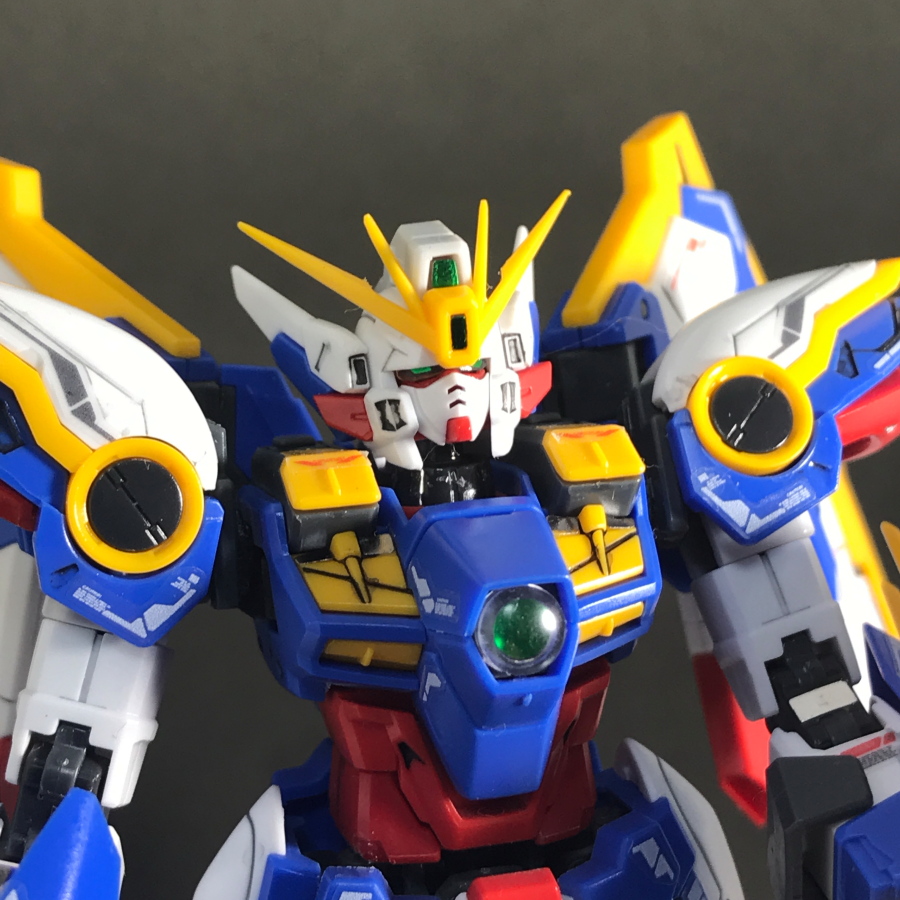
Rising.
From the side. The light is too strong and the details are flying. Excuse me.

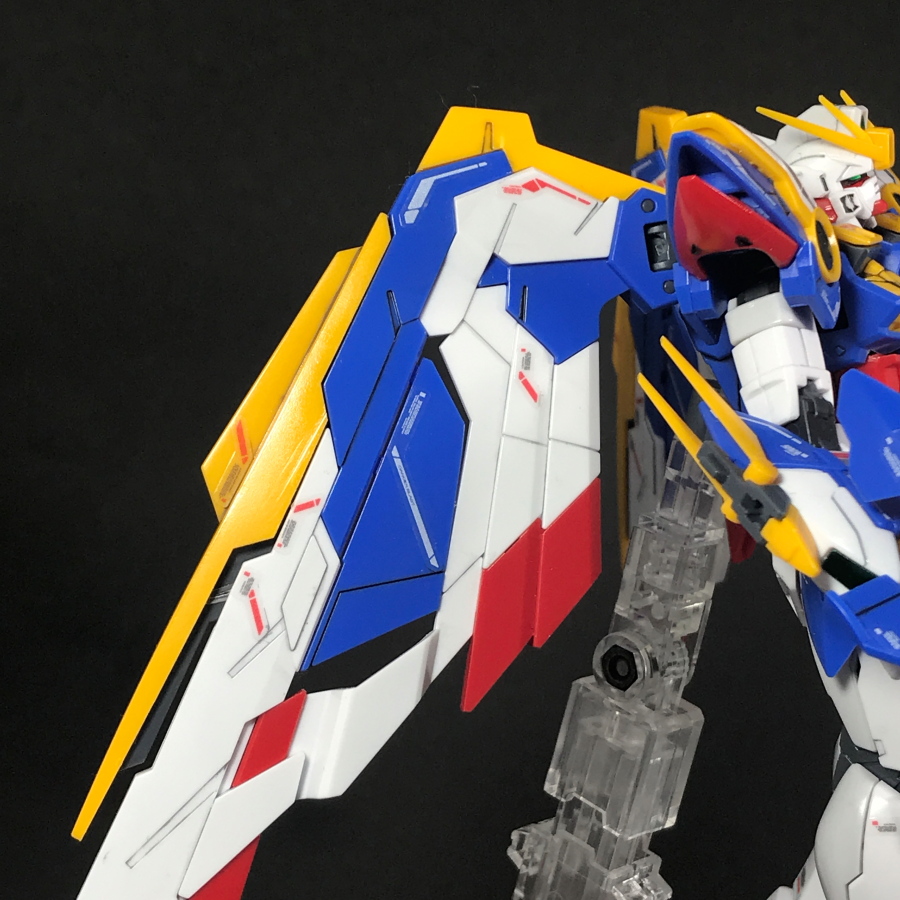
Wings look like this. After all it is cool.
I like the wings of this machine over zero custom wings.
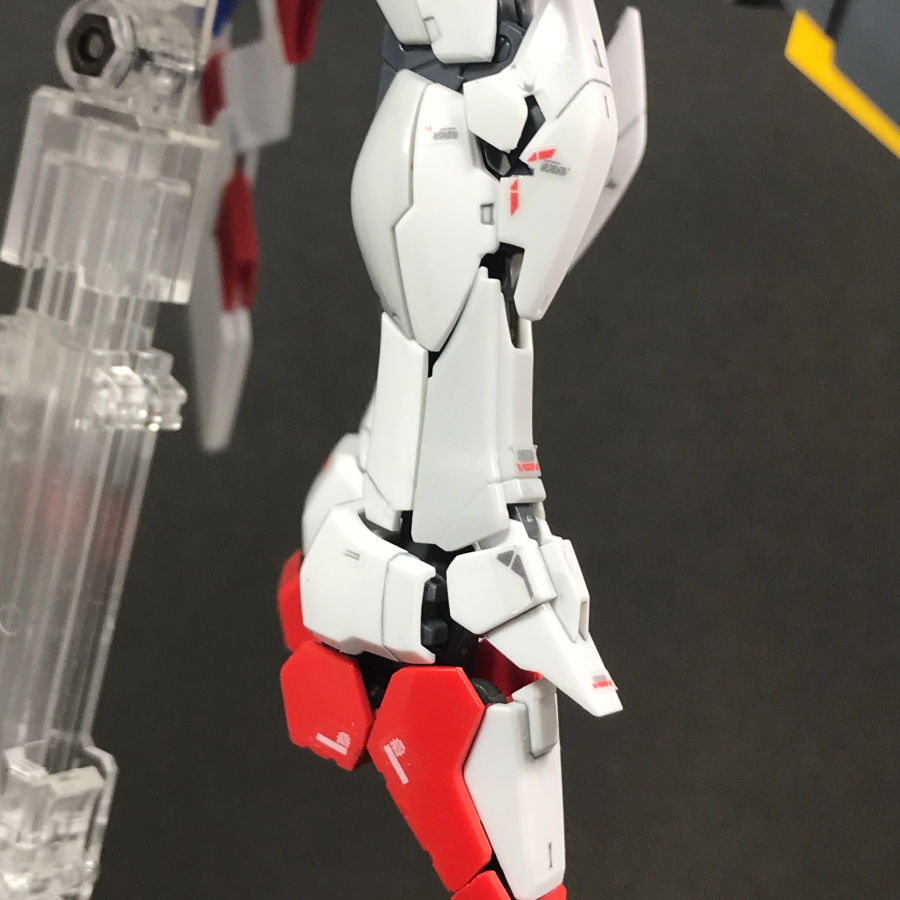
The knee is like this. The white and gray two-tone parts are the original color of the kit.
Beam rifle. Up at hand.
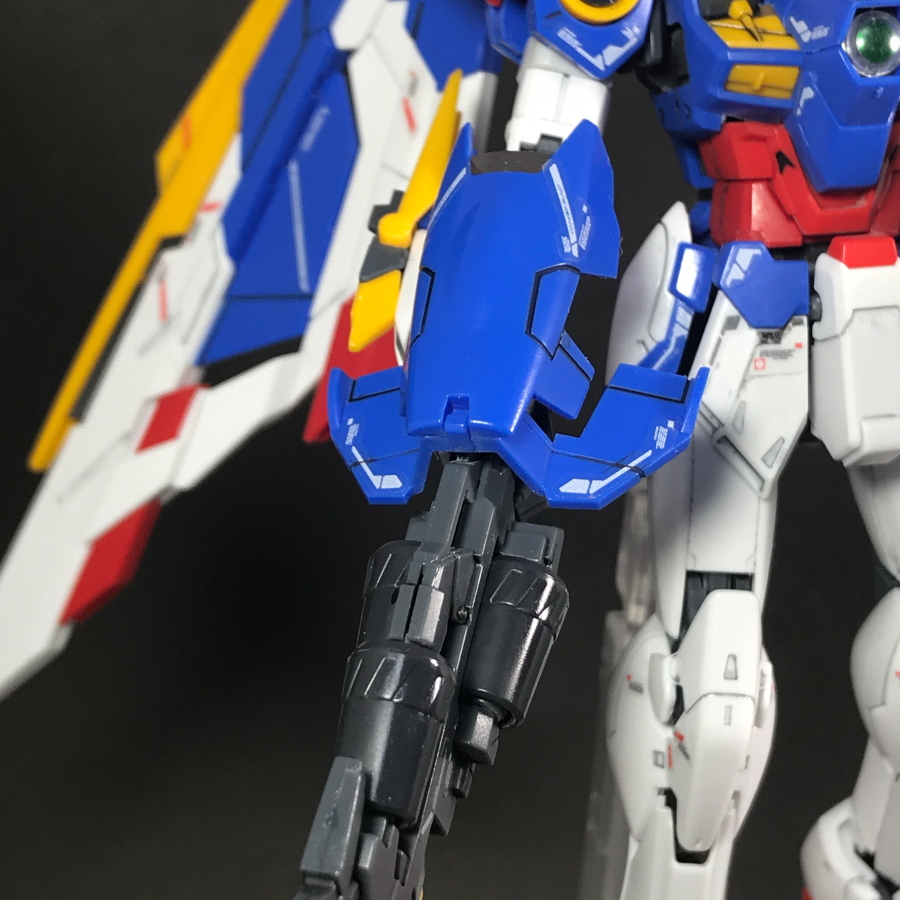
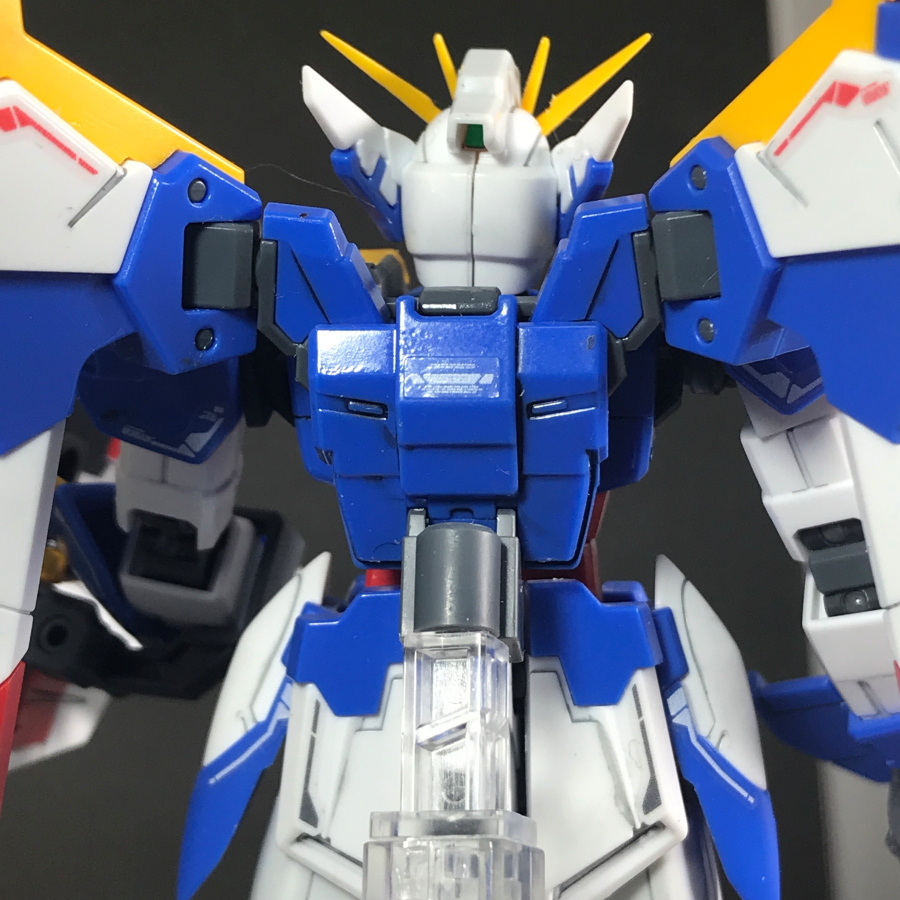
The back looks like this.
Joint parts for the stand are attached to the backpack.
Finally, with HG’s Wing Gundam Zero, which I made before.
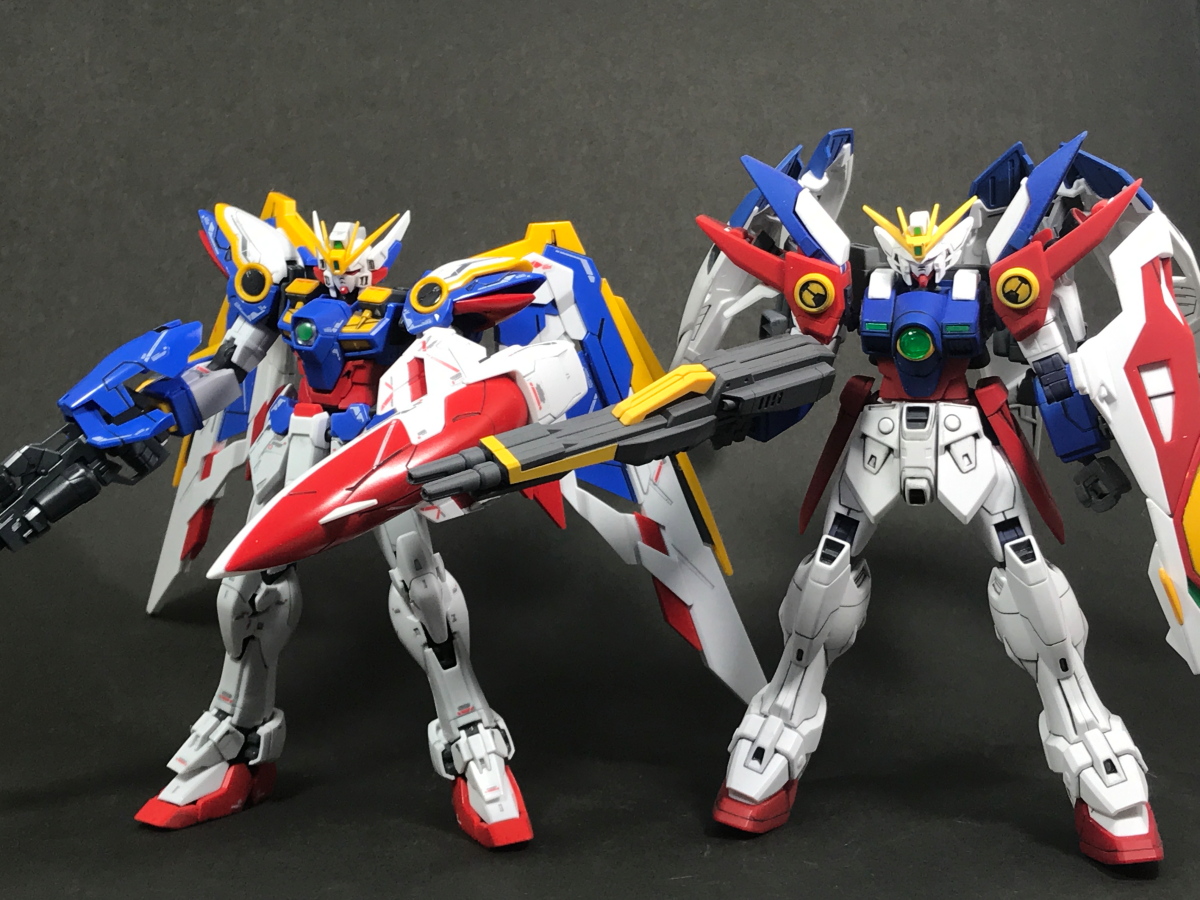
RG is sharper at all.
However, HG is by far the safest feeling that will not break even if you move the limbs of the kit.
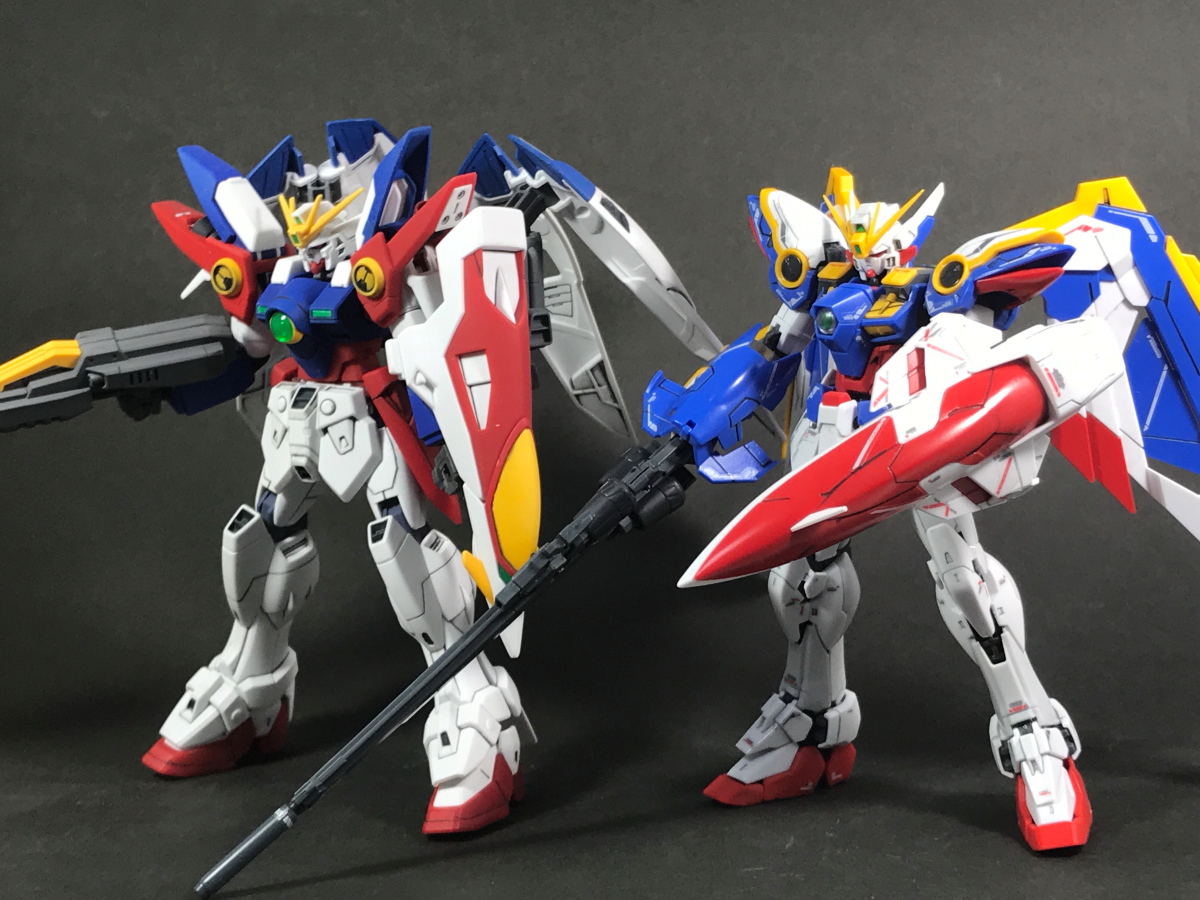
Actually, after this, I broke my fingernails. . (Orz)
[RG, Bandai’s amazing mechanism. . . ]
I made RG for the first time. There are not so many runners, they are really elaborate, and the finished product is very cool.
On the other hand, I think it’s really amazing.
If anyone makes it so cool, is there any point in making it? . . What a feeling.
Of course, I think there are many things you can do, such as full painting, but the parts are fine and delicate, and if you do something strange, it will break.
I thought that it was best to make it according to the instructions, so I omitted the painting this time.
RG is good, but it was a difficult kit in many ways.
Well, next is Thunderbolt GM’s painting.
See you next week.

