Hello, I’m Motan, a modeler.
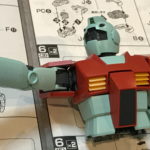
MG GM ver2.0, something very difficult today.
The cockpit hatch does not close properly. . .
Contents
[First of all, from the painting of weapons. . . ]
This time, the paint of the weapons went very beautiful.
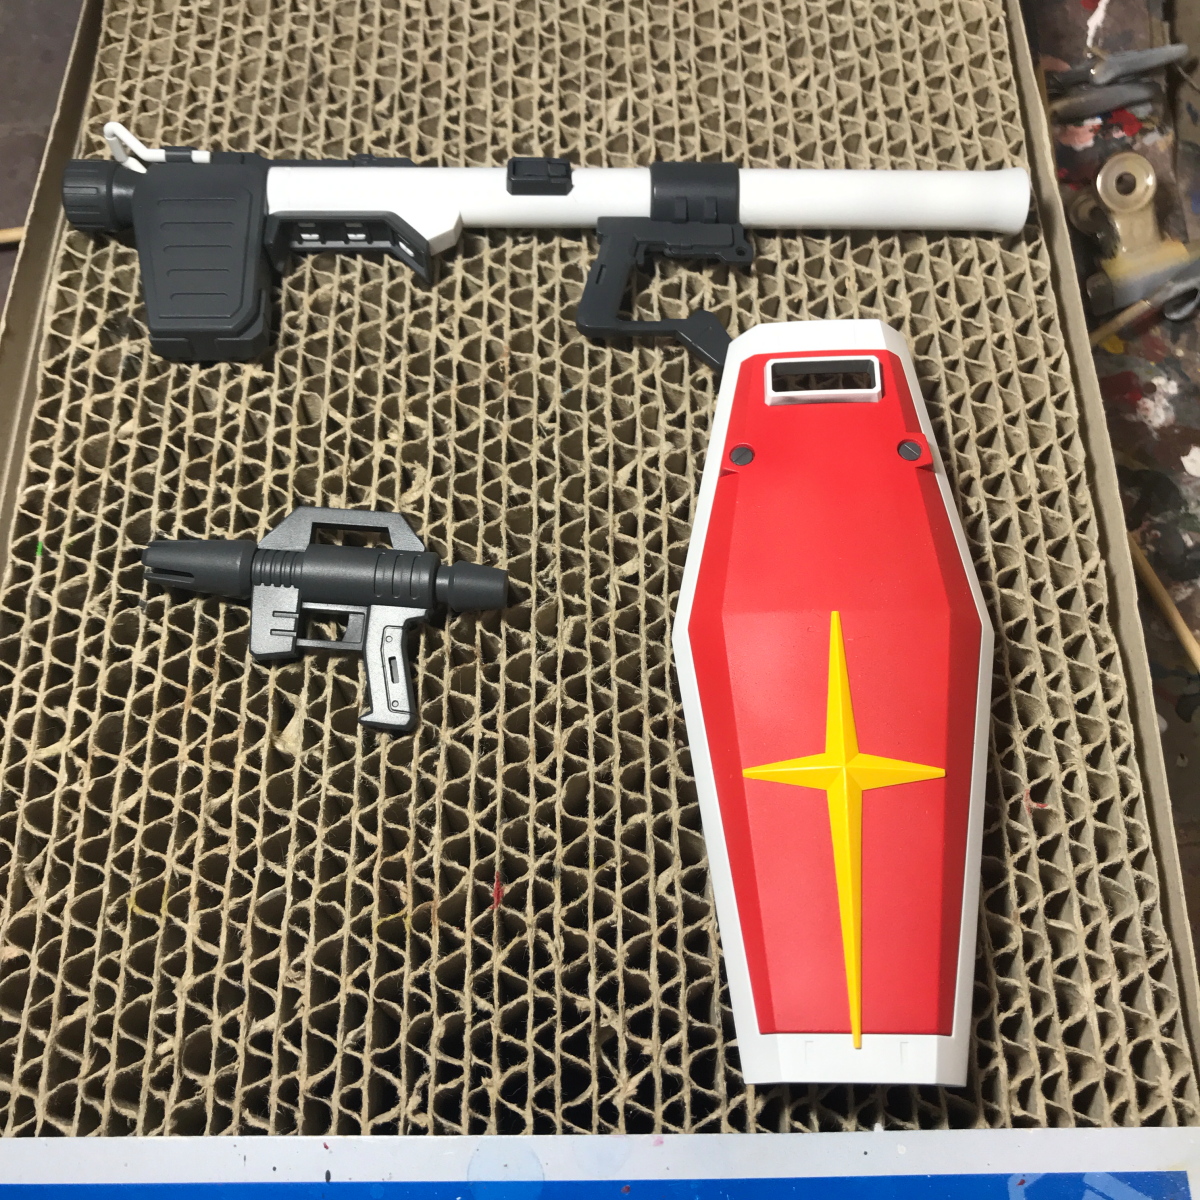
In particular, the gray color was beautifully adjusted.
I made a little mix of MS Gray, Black and Navy Blue.
Until now, I wanted to make such a color, but I couldn’t do it well.
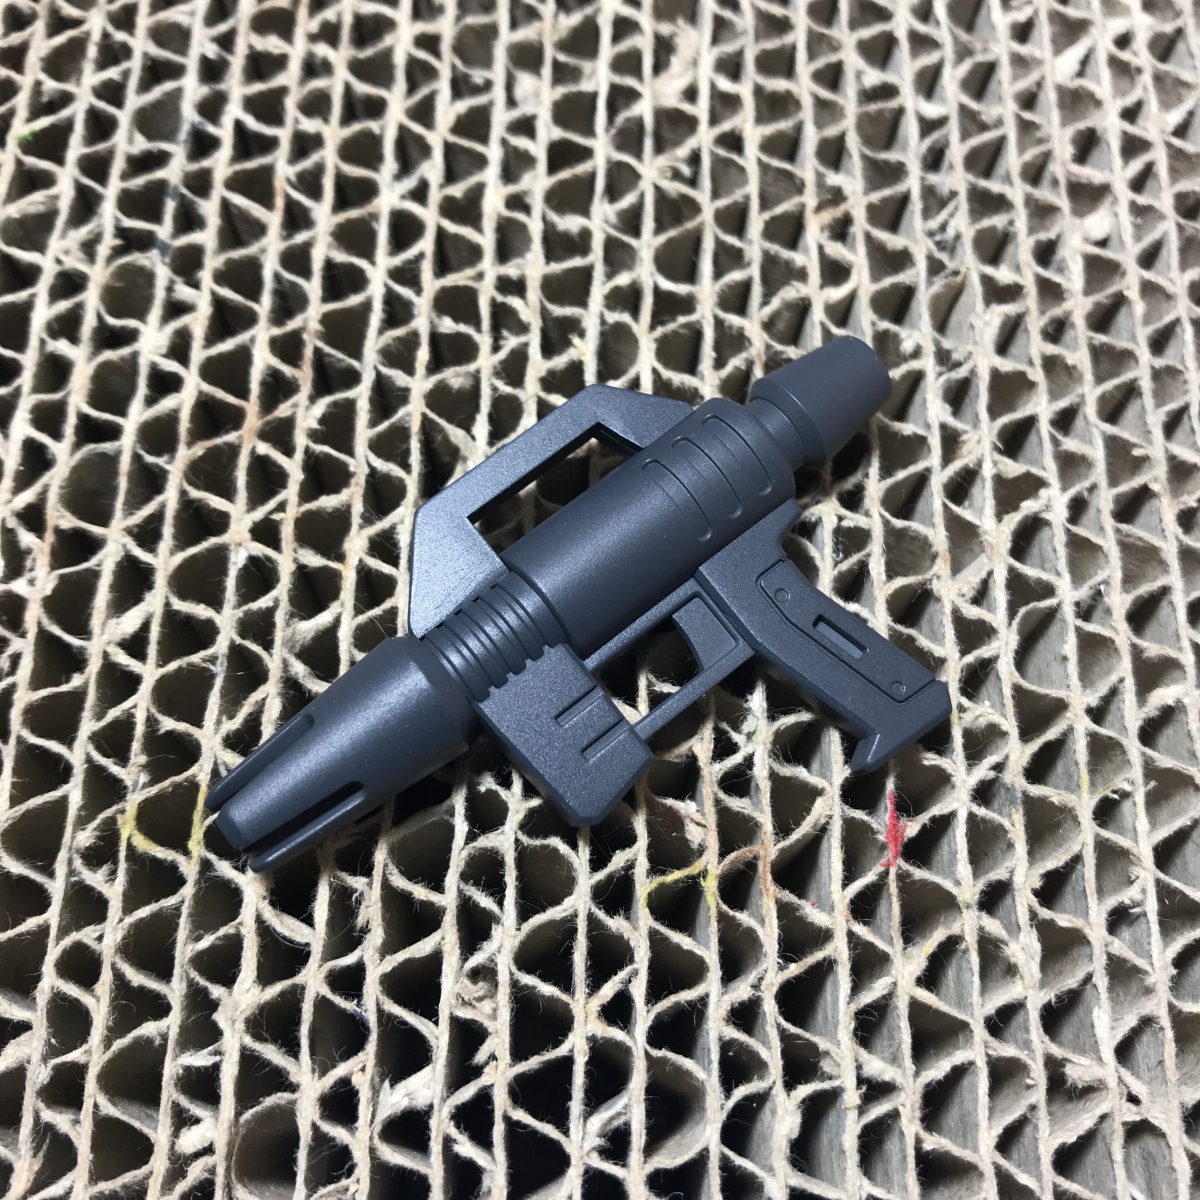
The bazooka was also clean and beautiful.
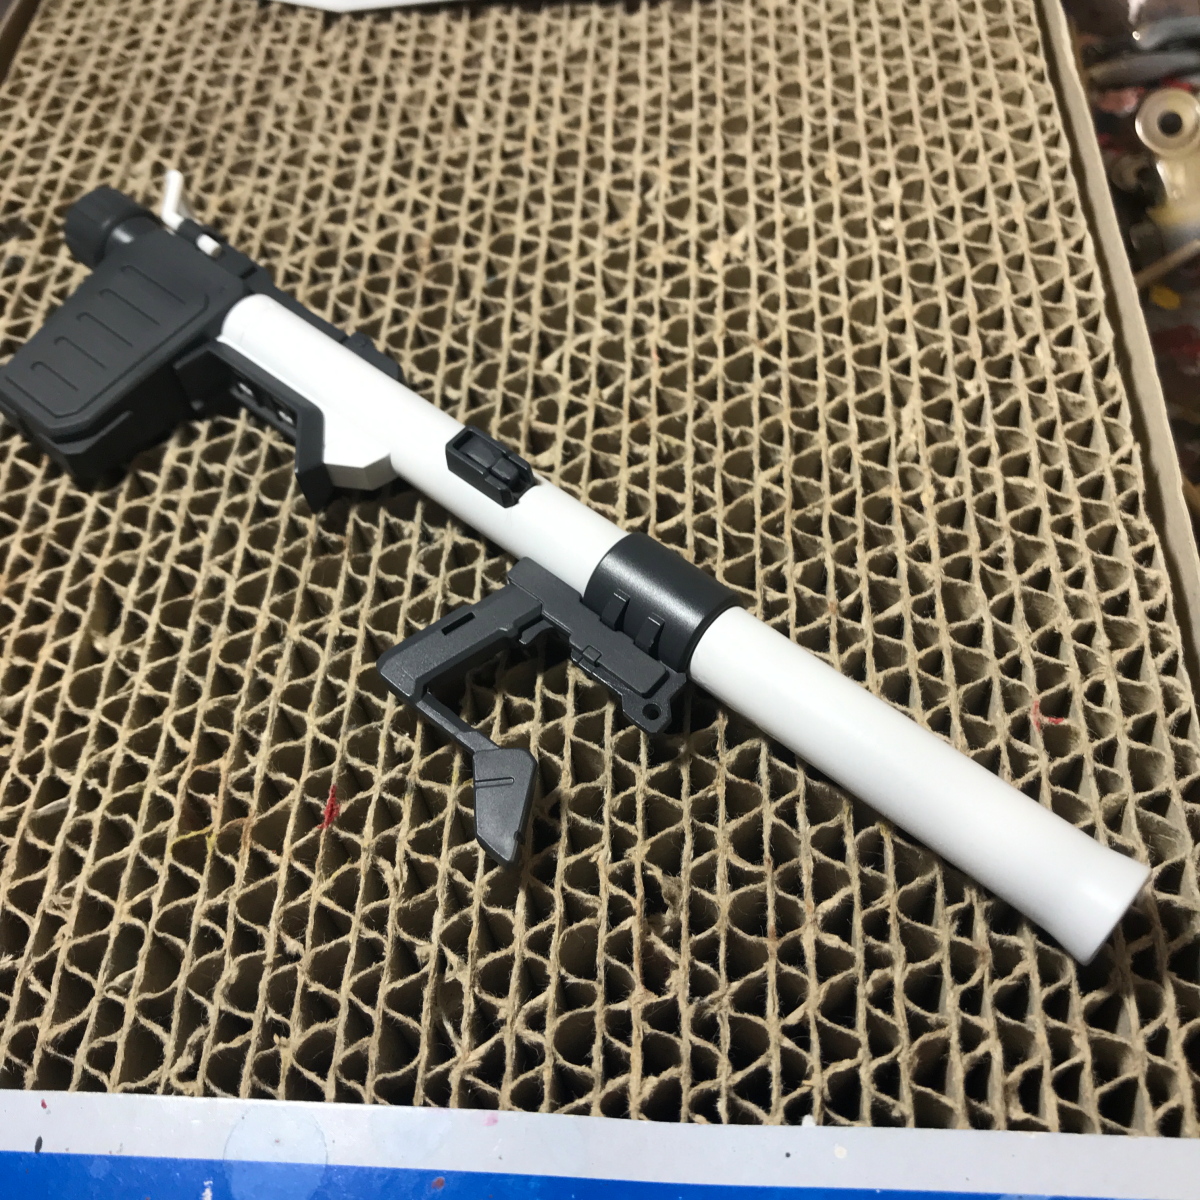
but. . .
Here, a tragedy is revealed. . .
[The cockpit hatch does not close. . . ]
I forgot to take a picture, but the cockpit hatch attachment part interferes with the core fighter’s roof and does not close well.
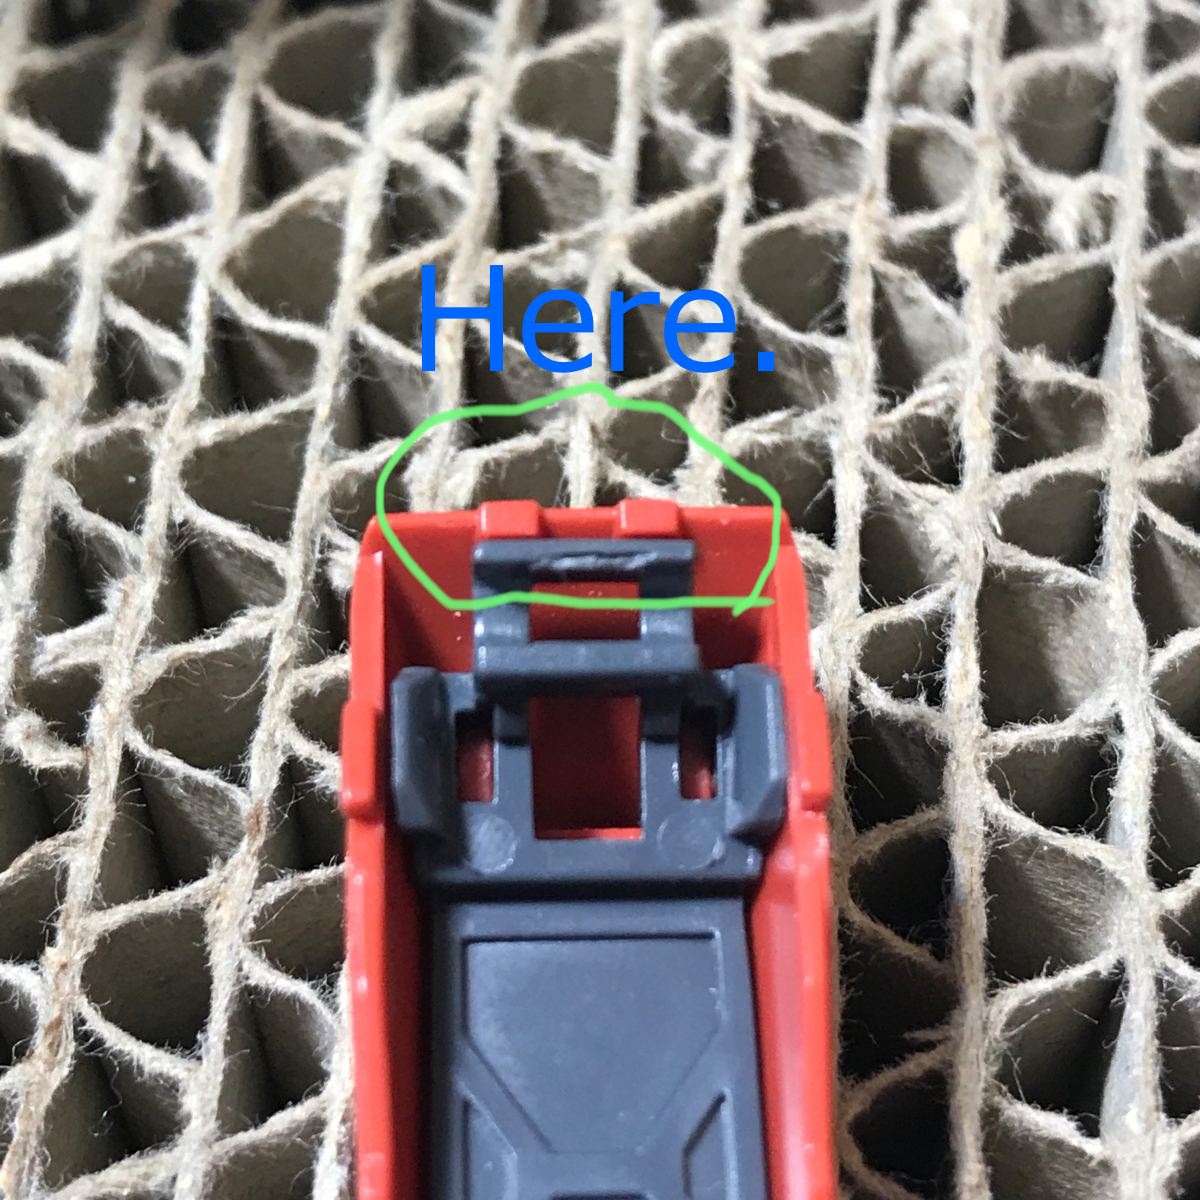
“I wonder why it wo n’t close.” When I messed around, the core fighter’s roof was scratched and the paint bald.
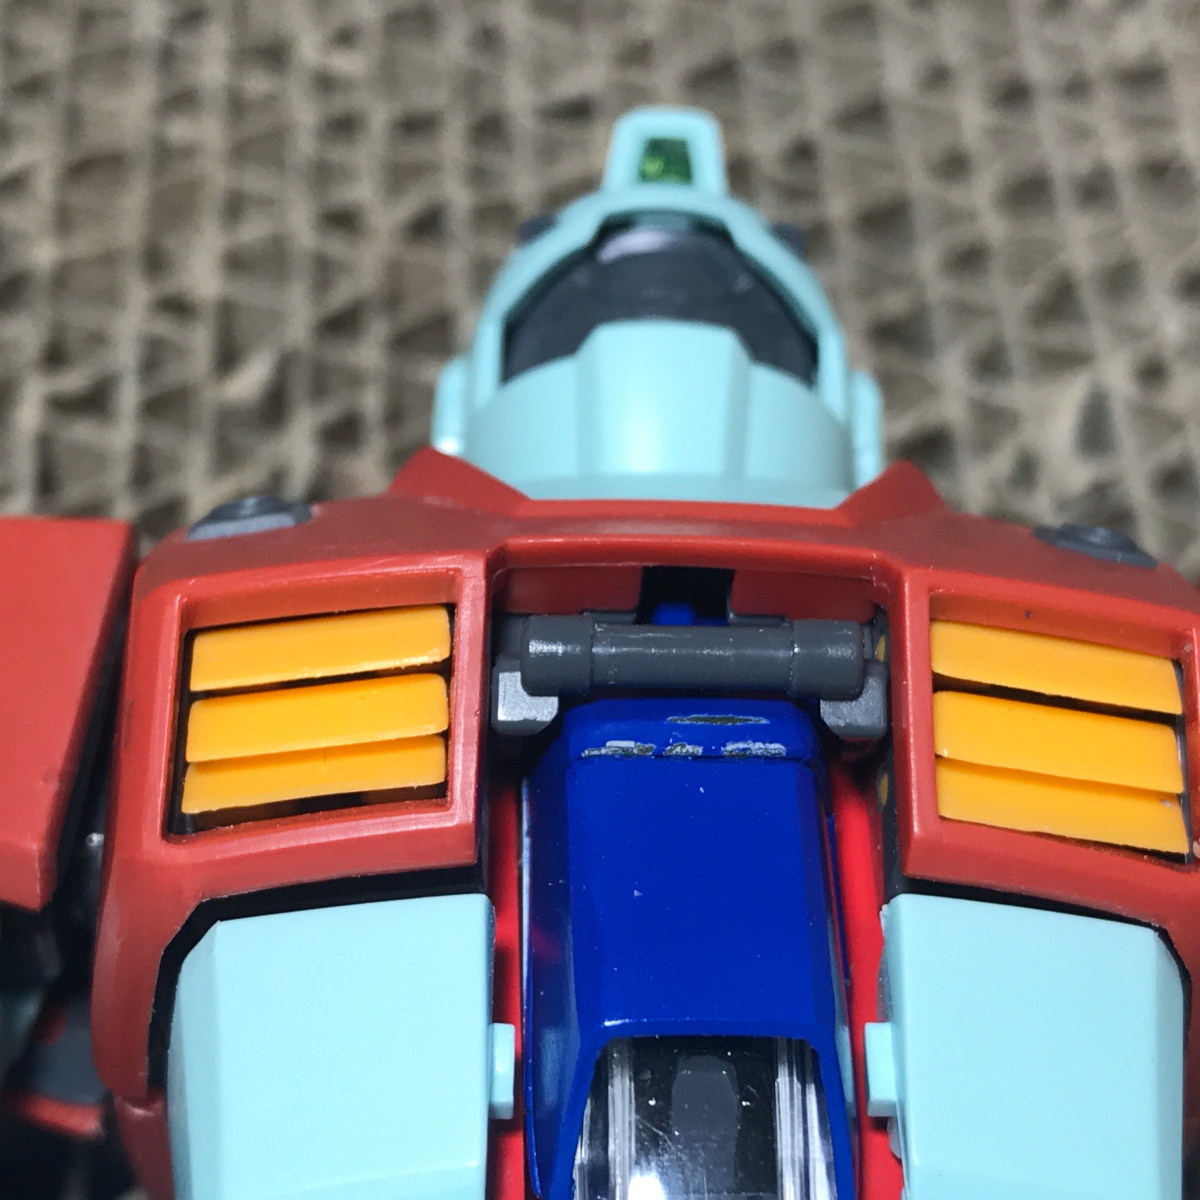
Moreover, after removing the hatch, the claws broke and the hatch came off easily. (T ^ T)
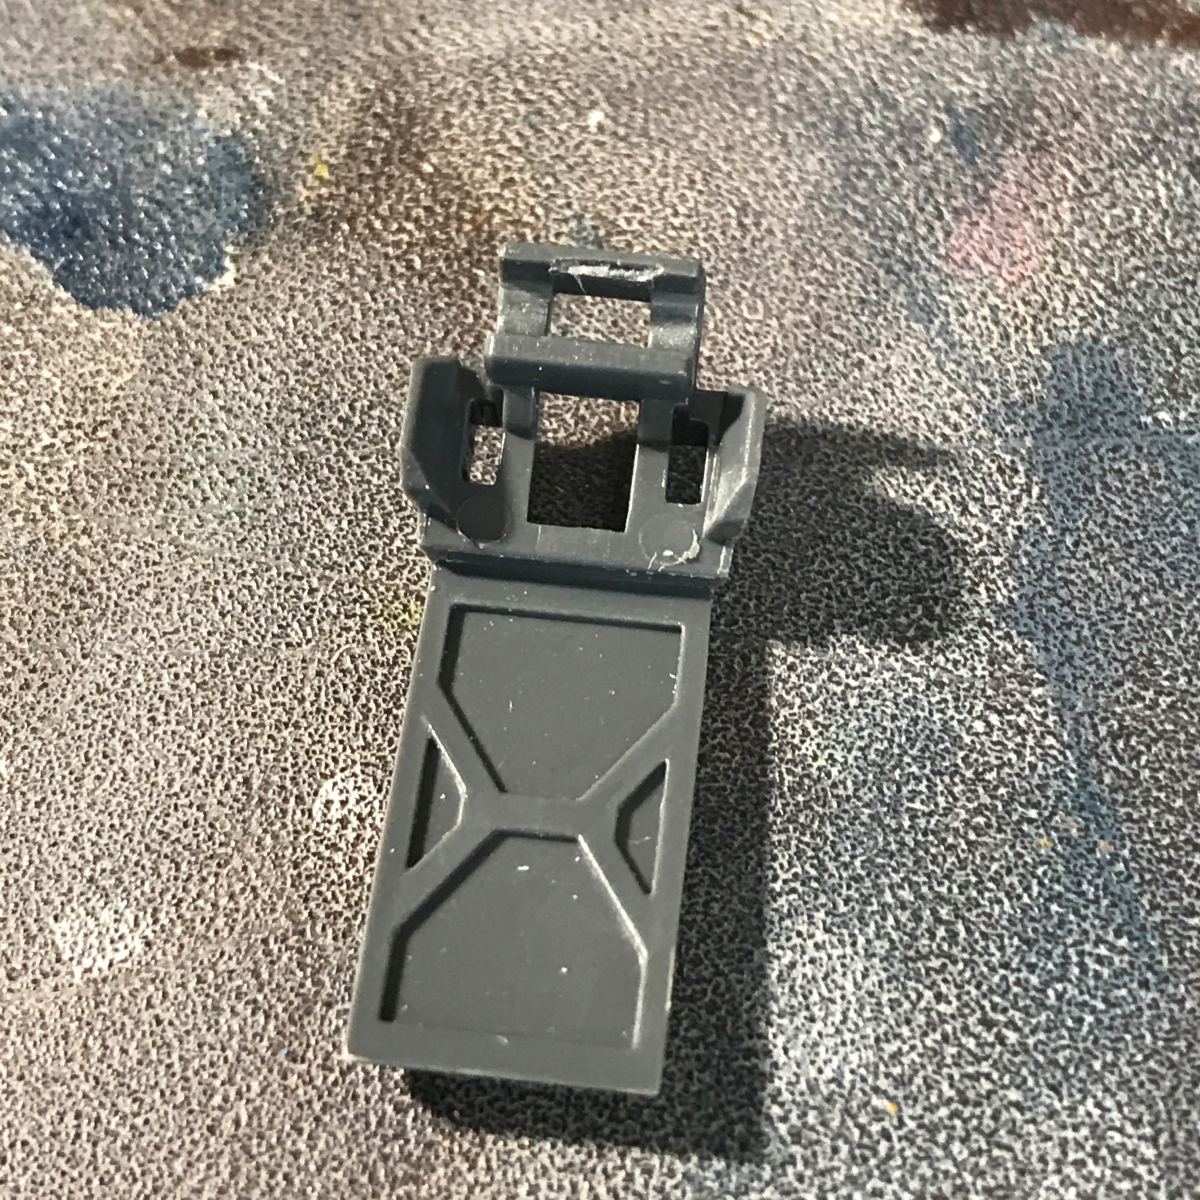
But this doesn’t distract me.
[Use a neodymium magnet to repair the hatch. . . ]
Here is how to repair it.
First, cut off the shaft to which the hatch is to be attached.
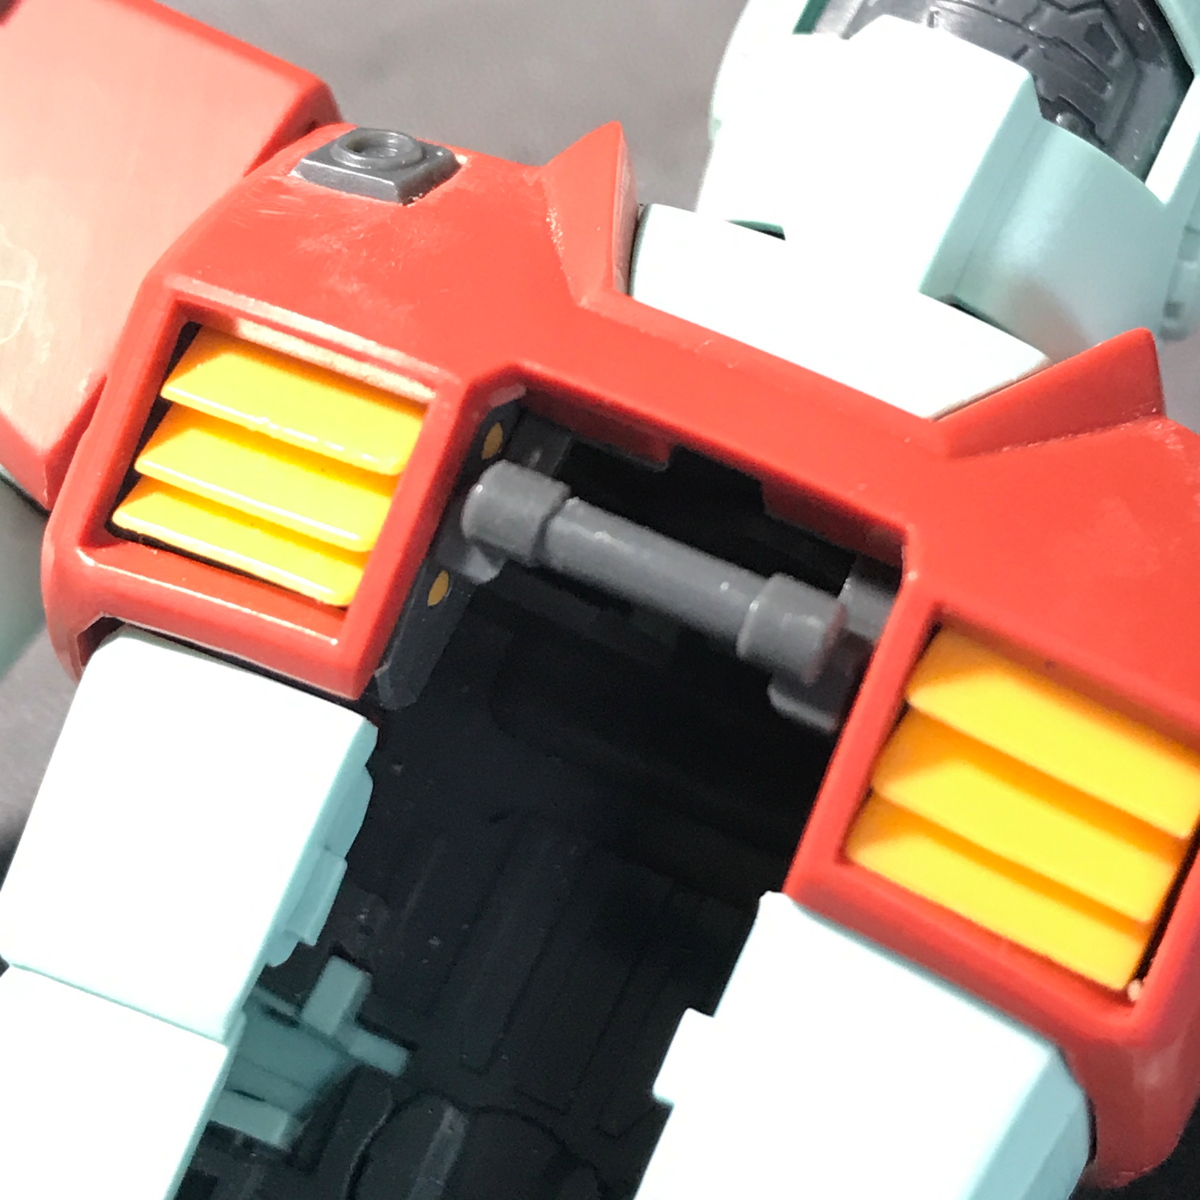
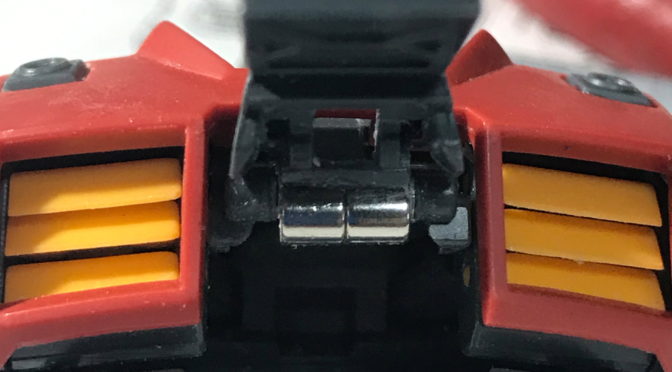
After cutting, paste a magnet setter (a small iron plate to attach the magnet) to the cut section.
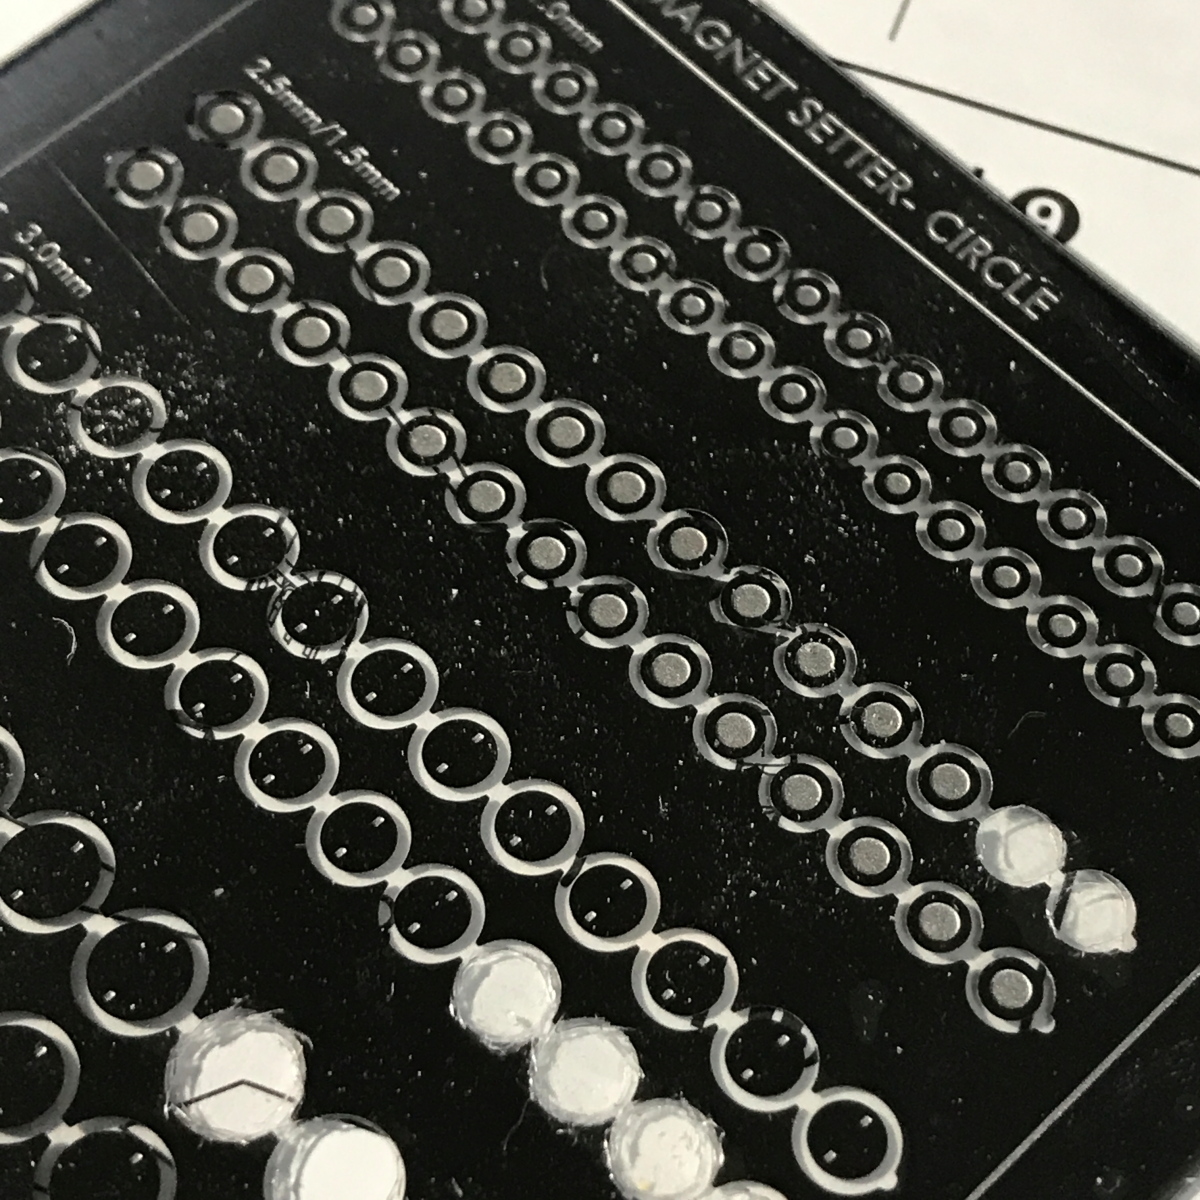
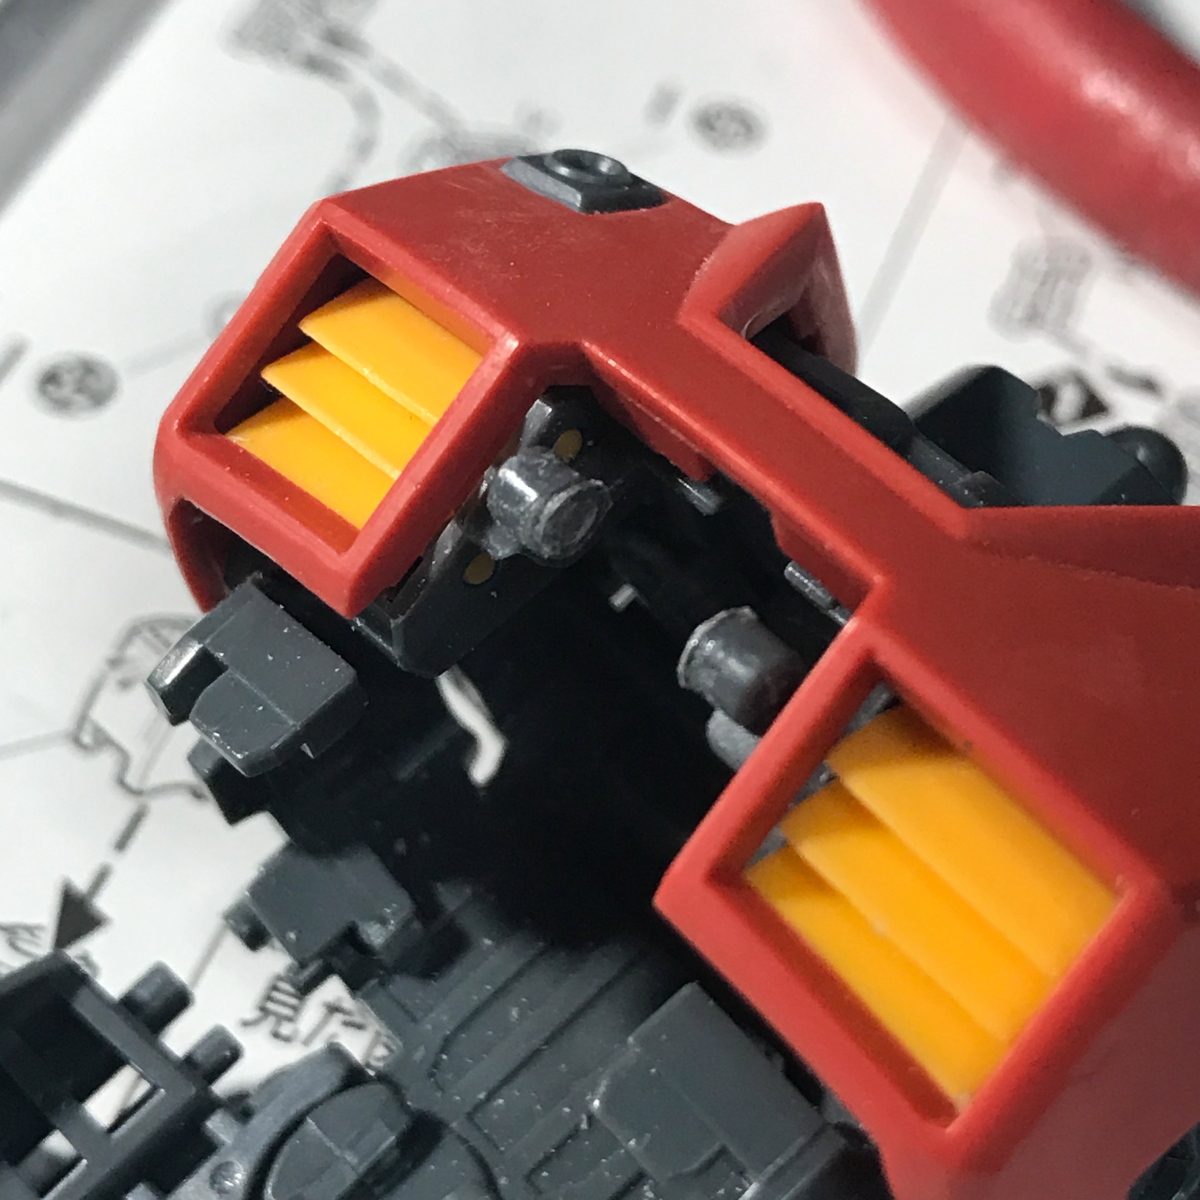
It will look like the photo below.
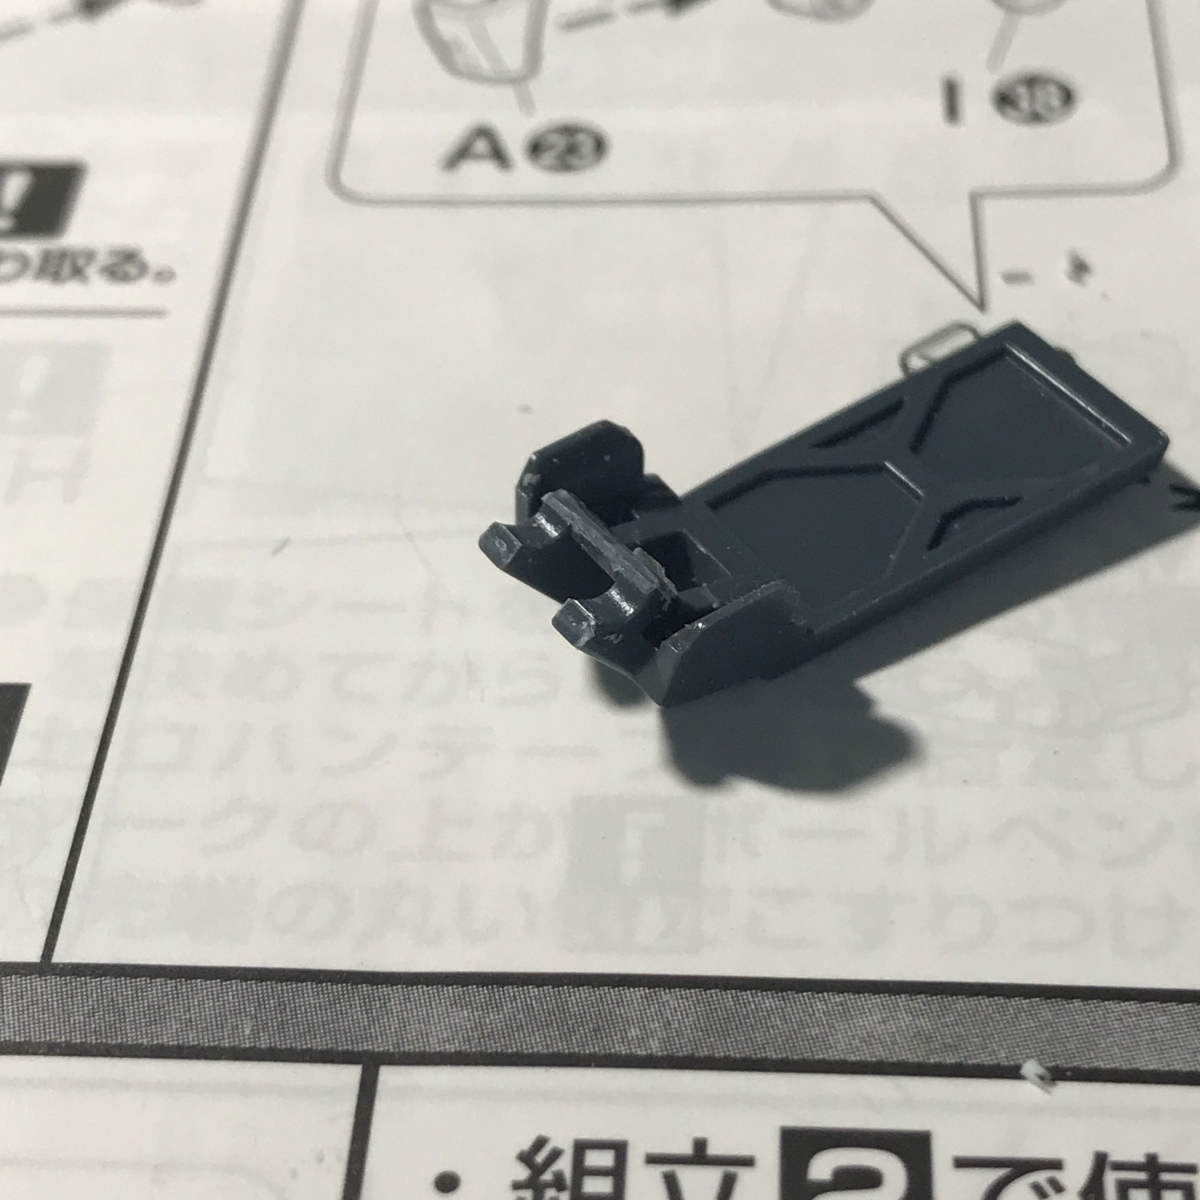
Cut out the part of the cockpit hatch that interferes with the core fighter’s roof.
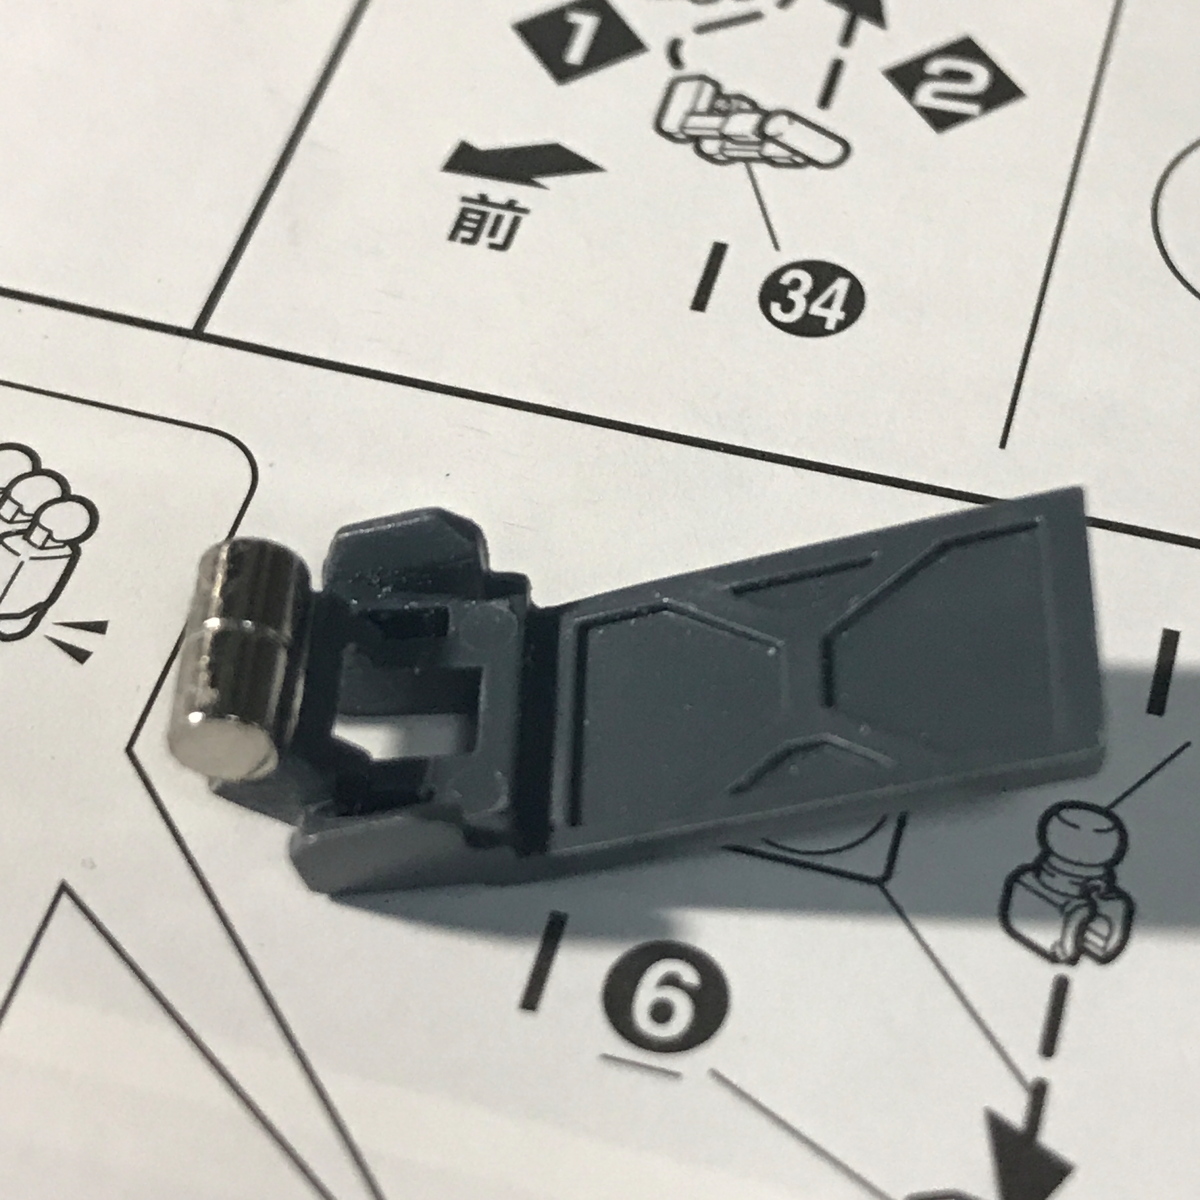
Then, a neodymium magnet is bonded using an instantaneous adhesive.
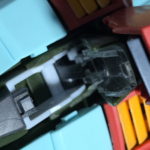
If you attach the hatch again, it will look like this photo.
It ’s pretty good.
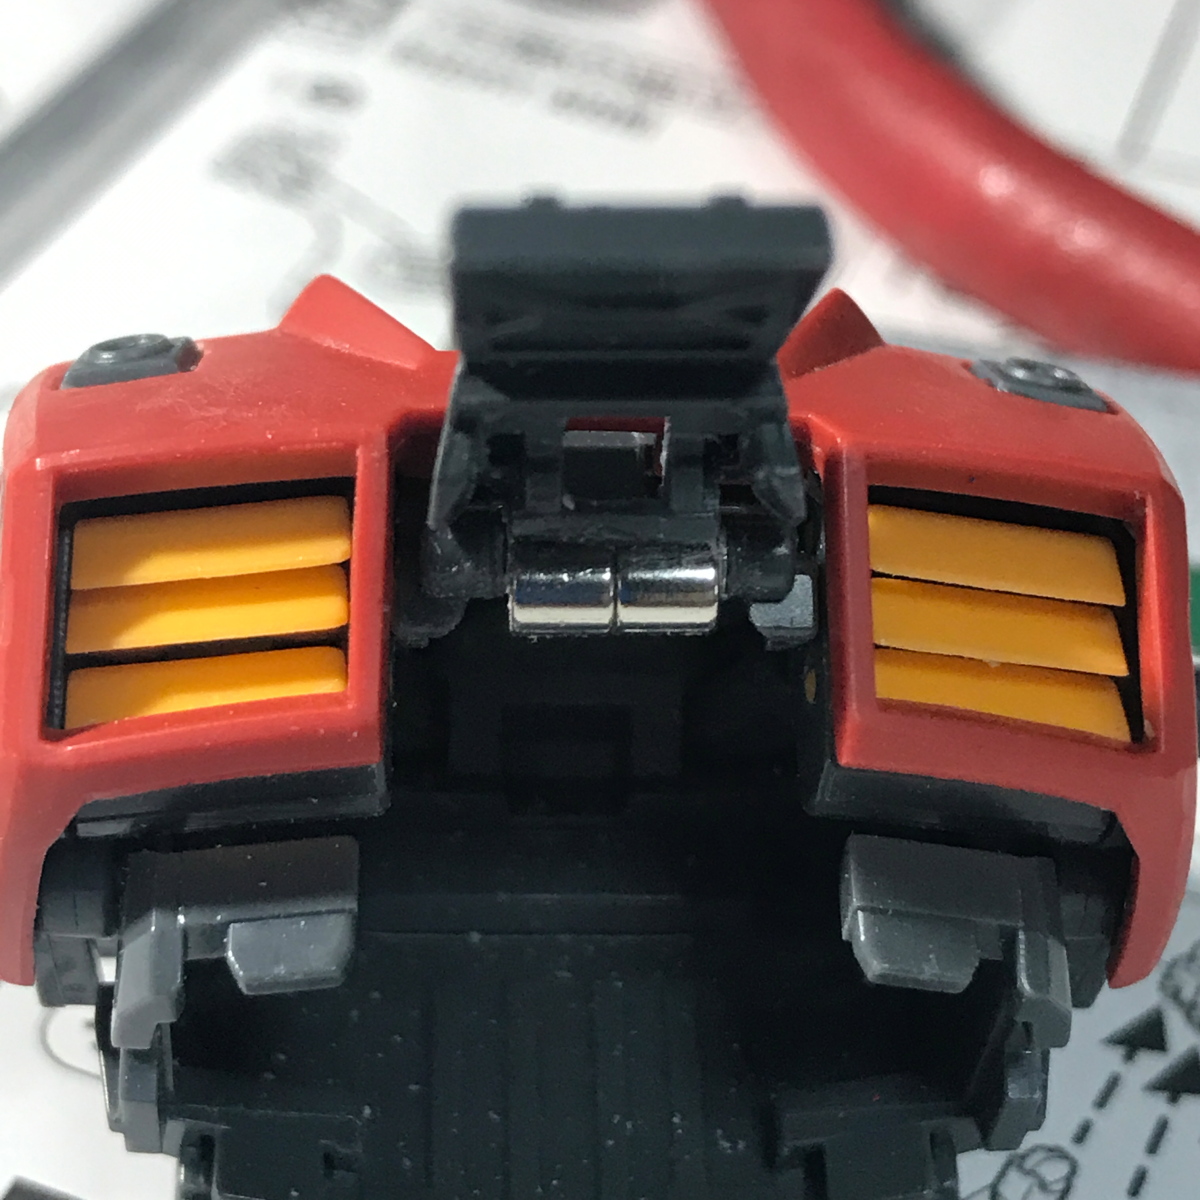
It ’s like this when you close the hatch.
Since it is firmly attached with a magnet, the parts will not come off and can be kept open and closed.
The parts that interfere are also cut off, so this is perfect.
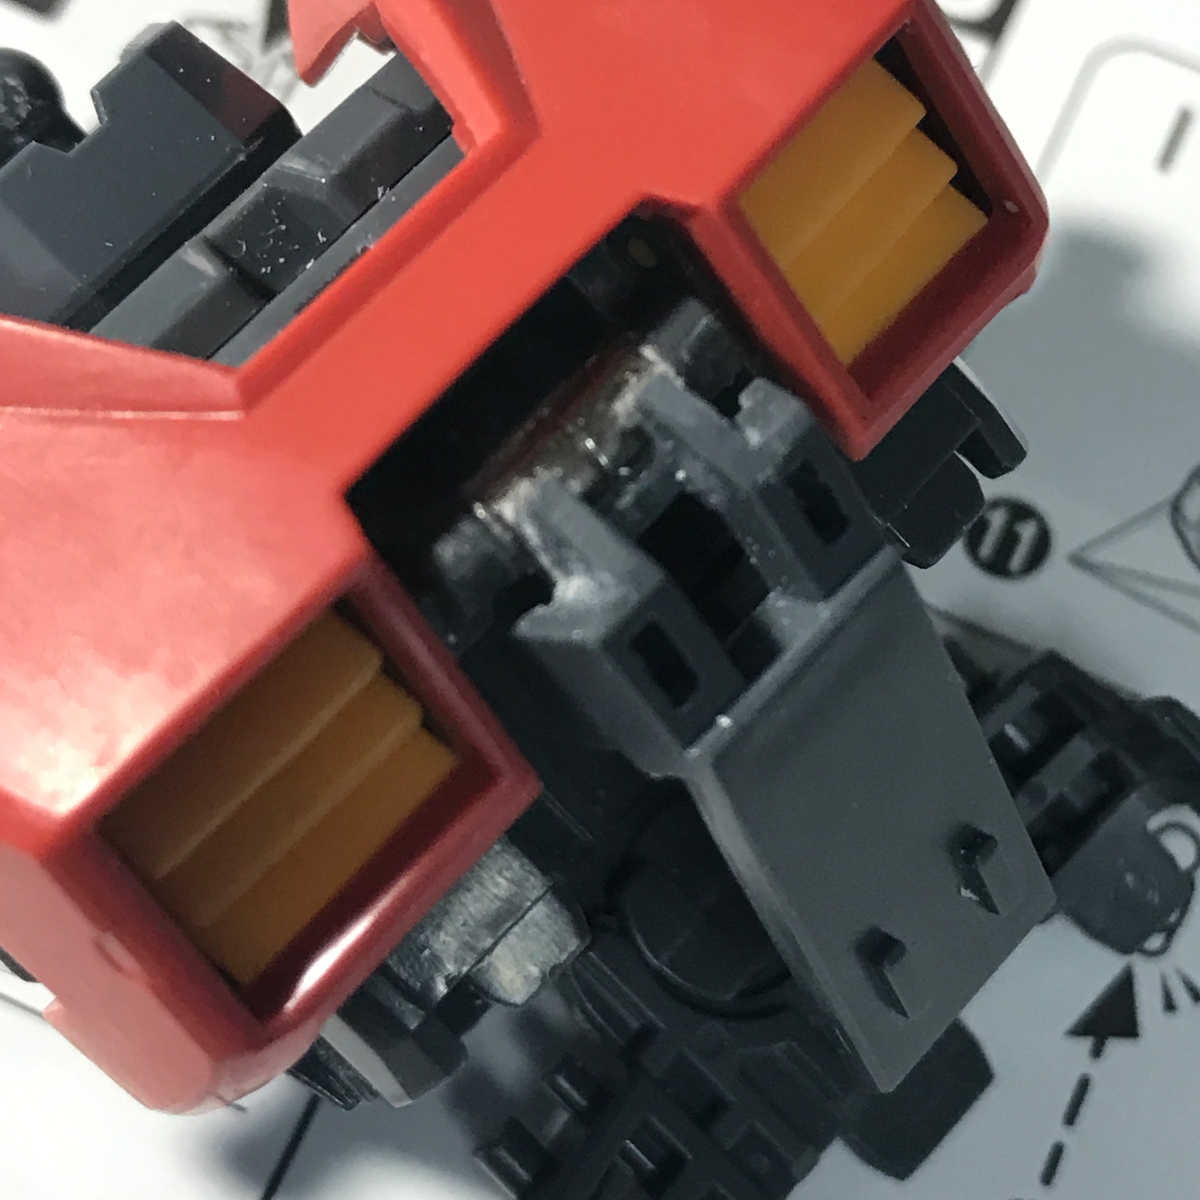
Now, put it in the paint with confidence.
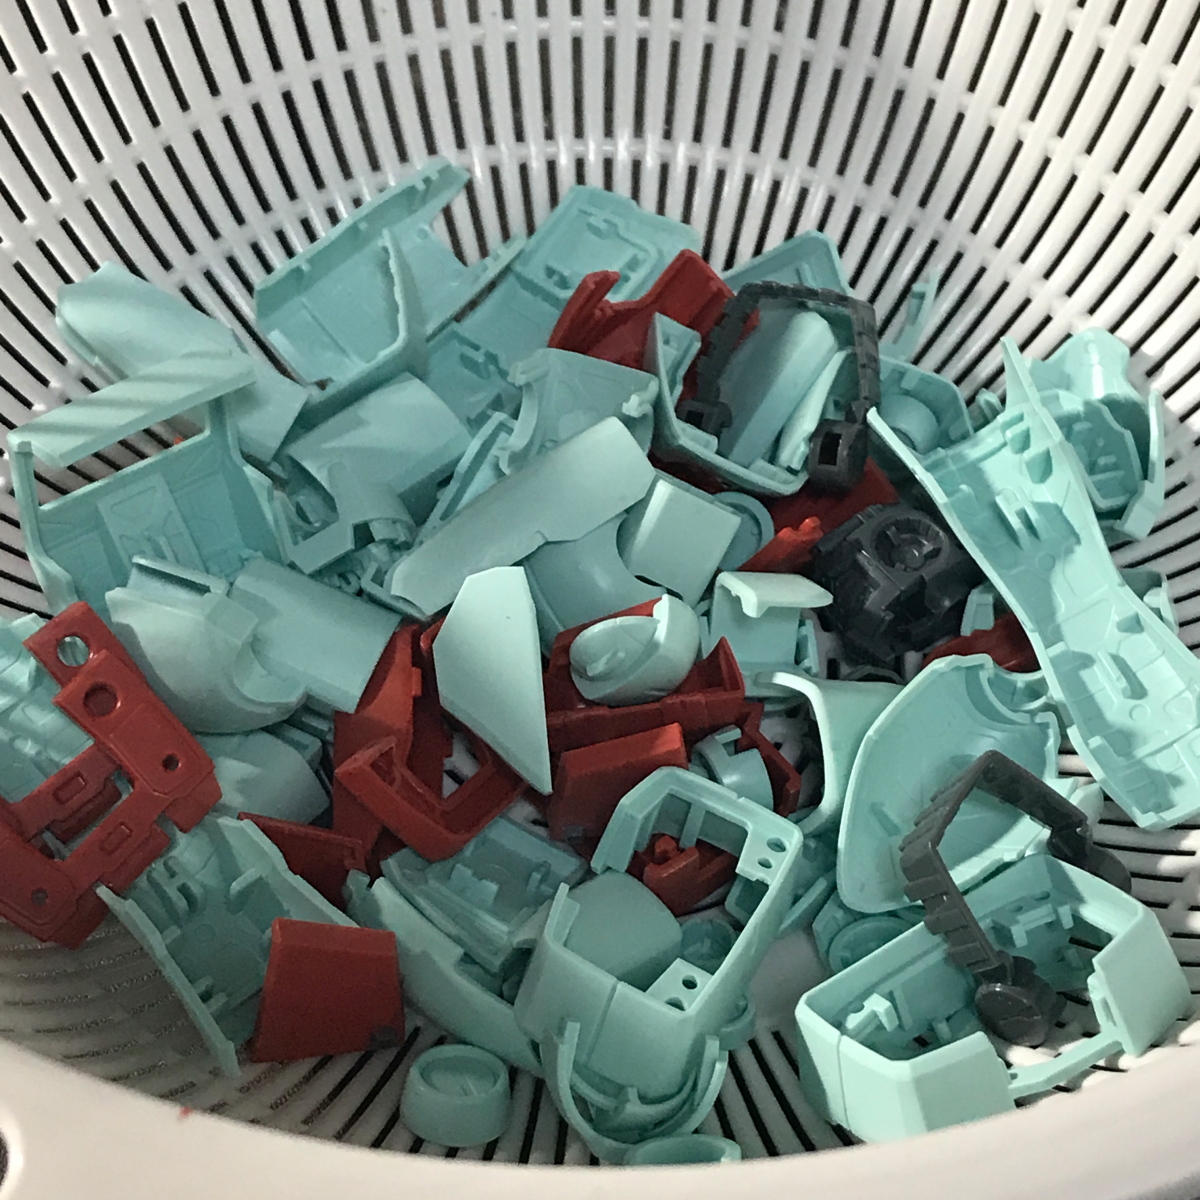
A little more to complete.
Have fun and do my best.
See you next week.

