Hello, I’m Motan, a modeler.
Old kit Gundam mk2.
It’s a complete process.
I also tried using the Gundam Marker Airbrush System.
Contents
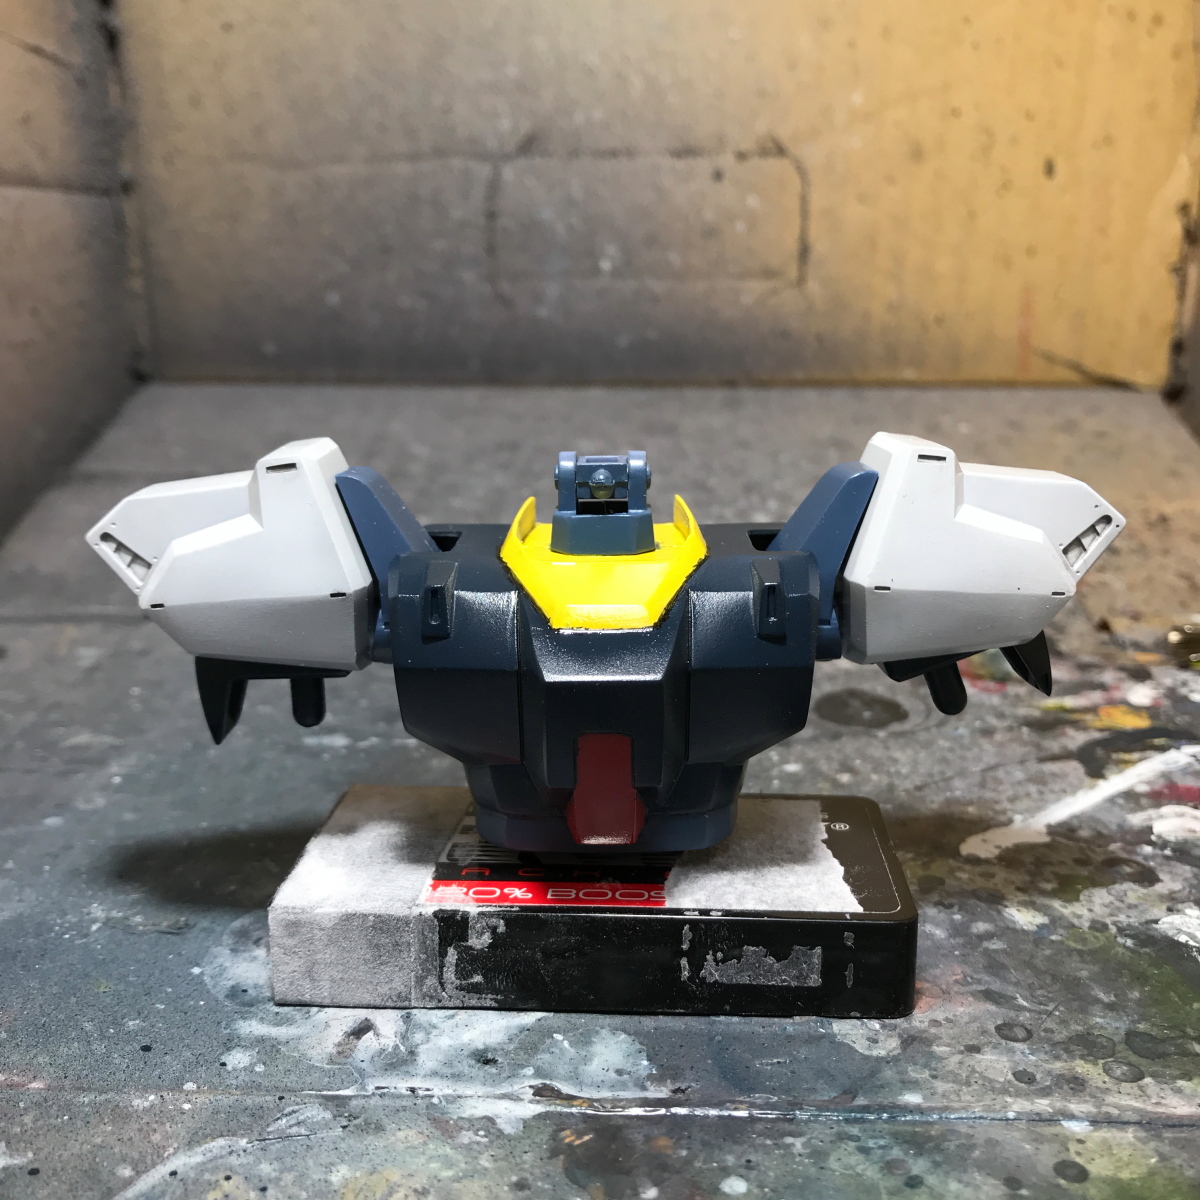
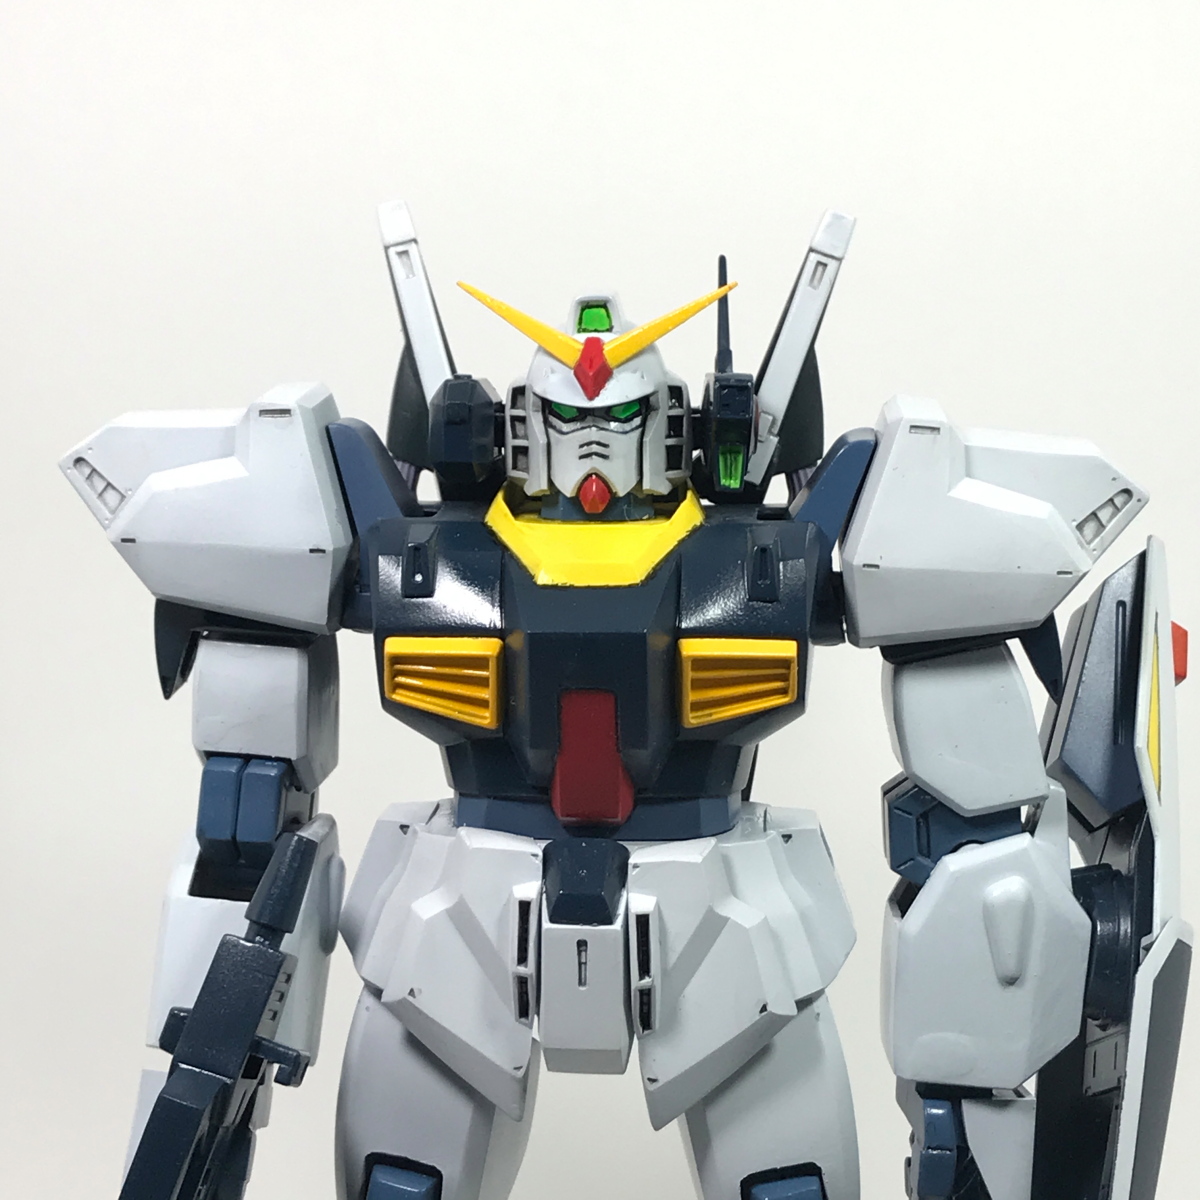
[First upper body. . . Put your head on. . . ]
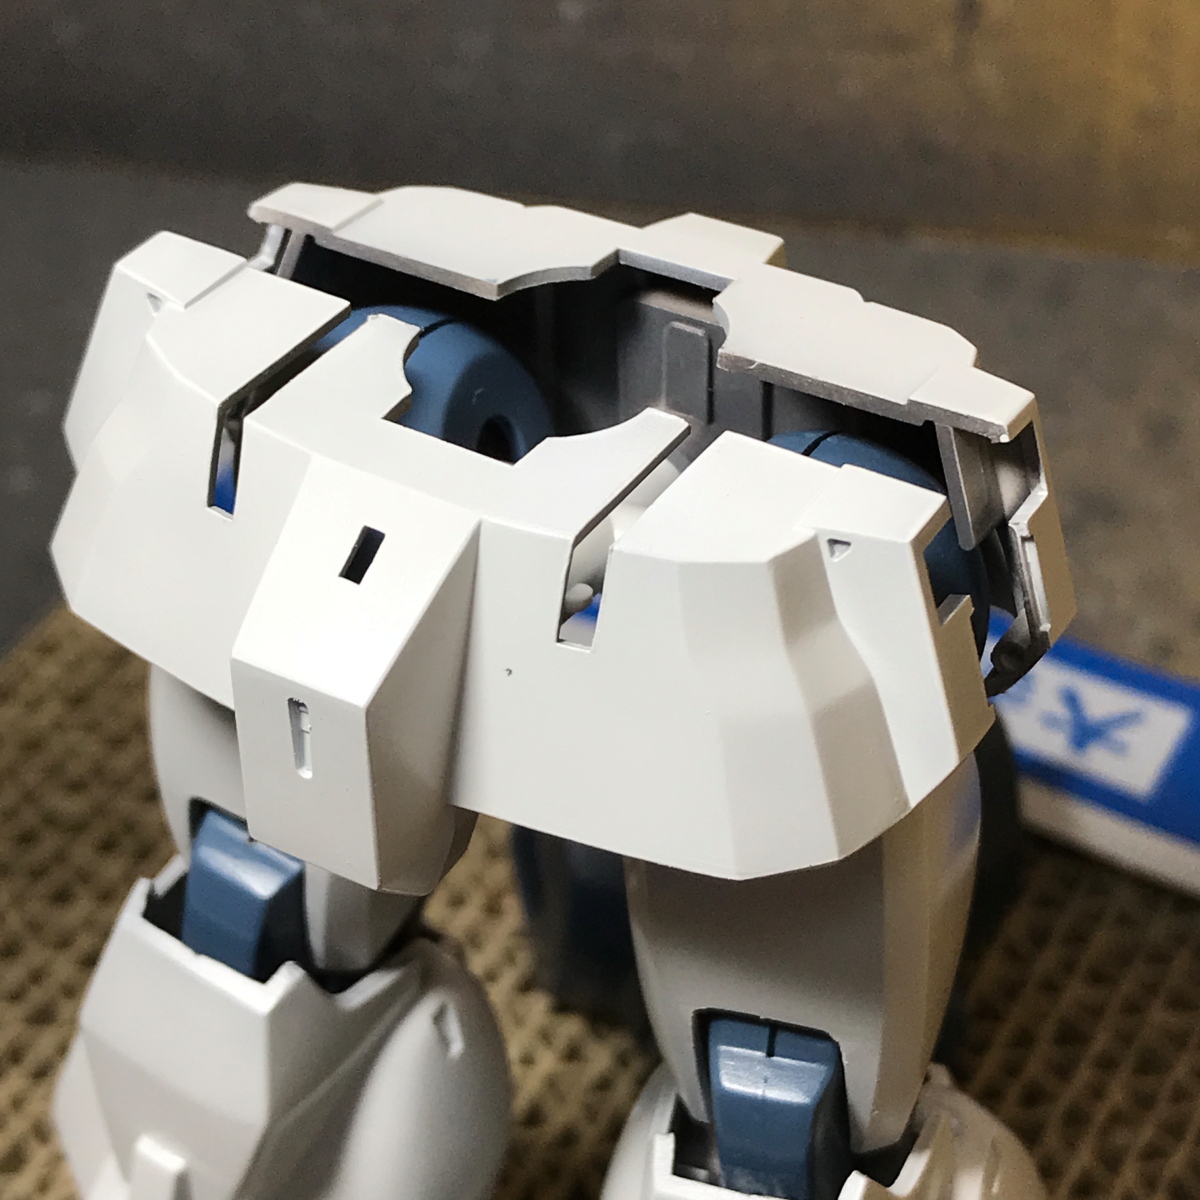
The head is a mechanism where the neck axis is sandwiched between the left and right parts.
So after painting the torso, attaching the head, masking the torso and painting the head.
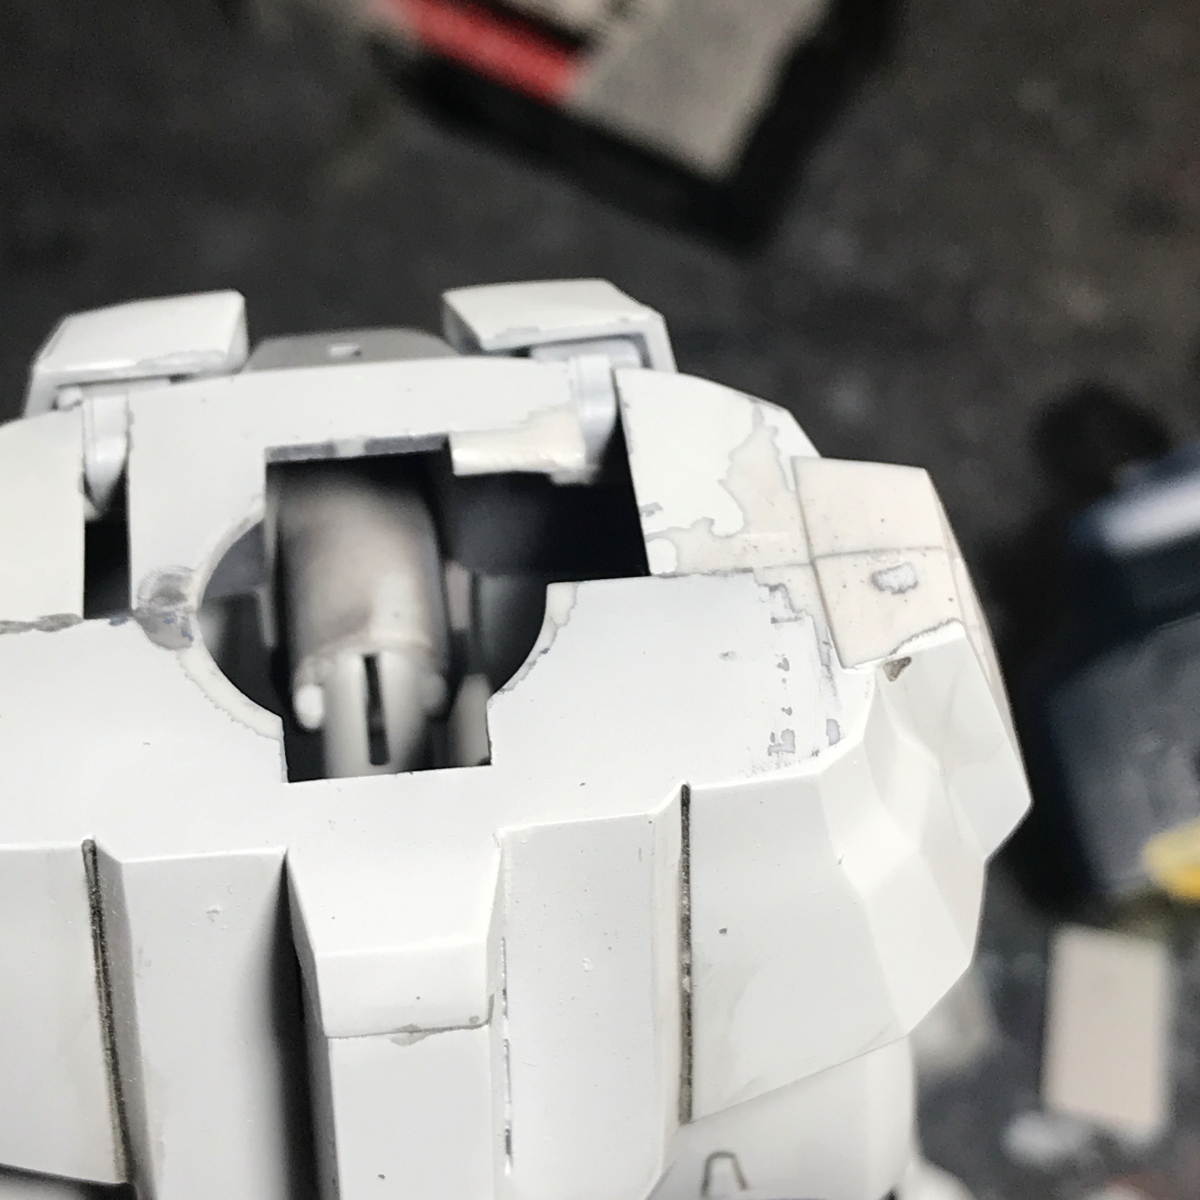
In this state, mask the torso. . . Put on!
(Pressed with rubber band.)
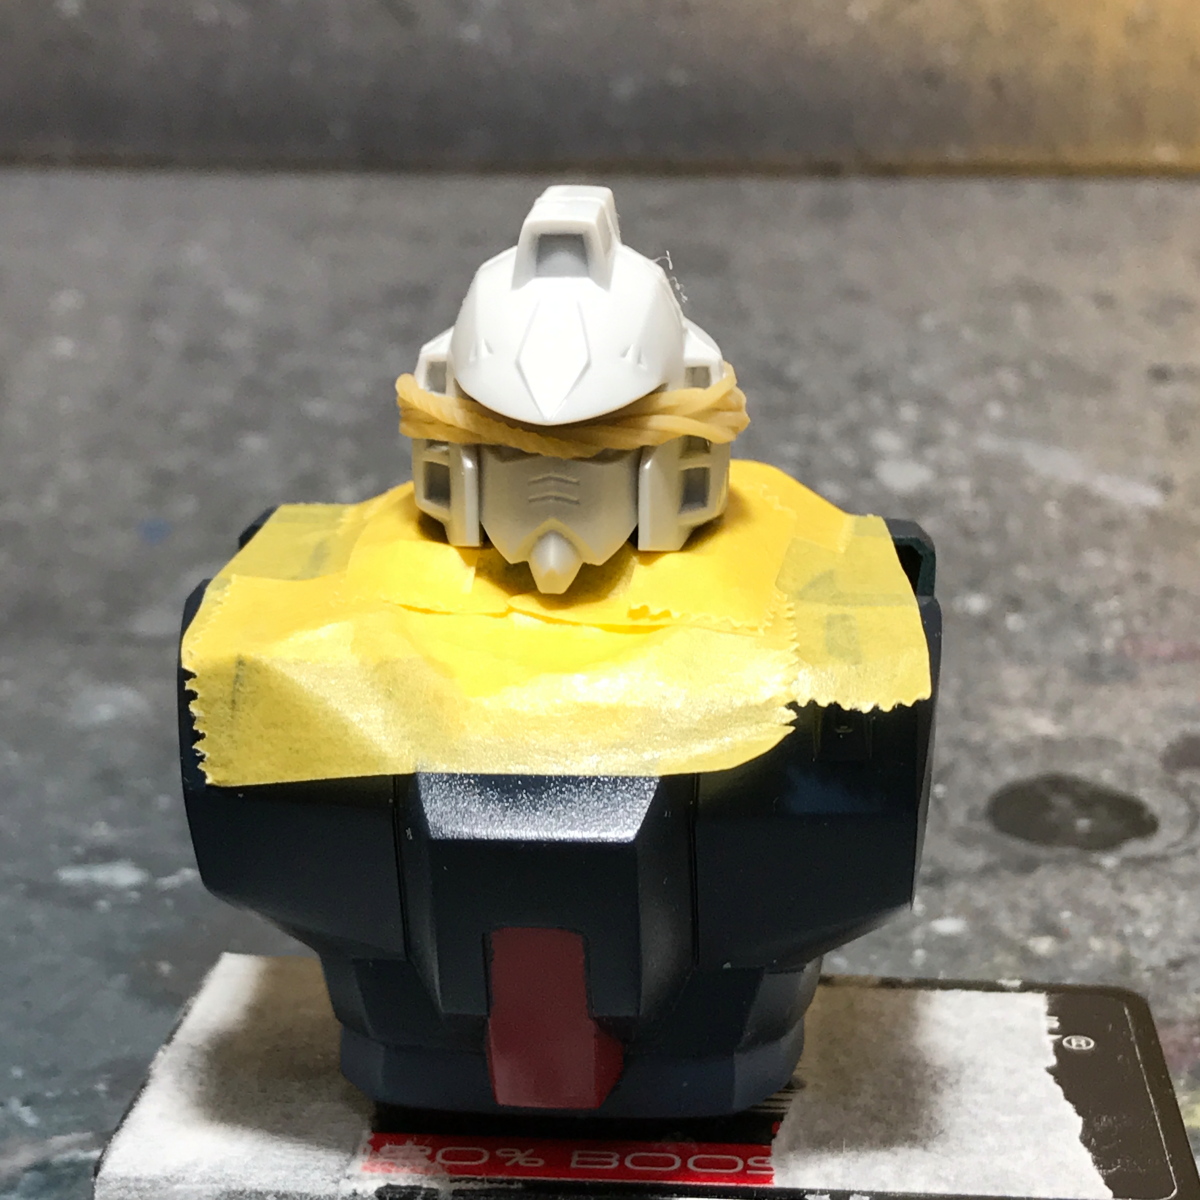
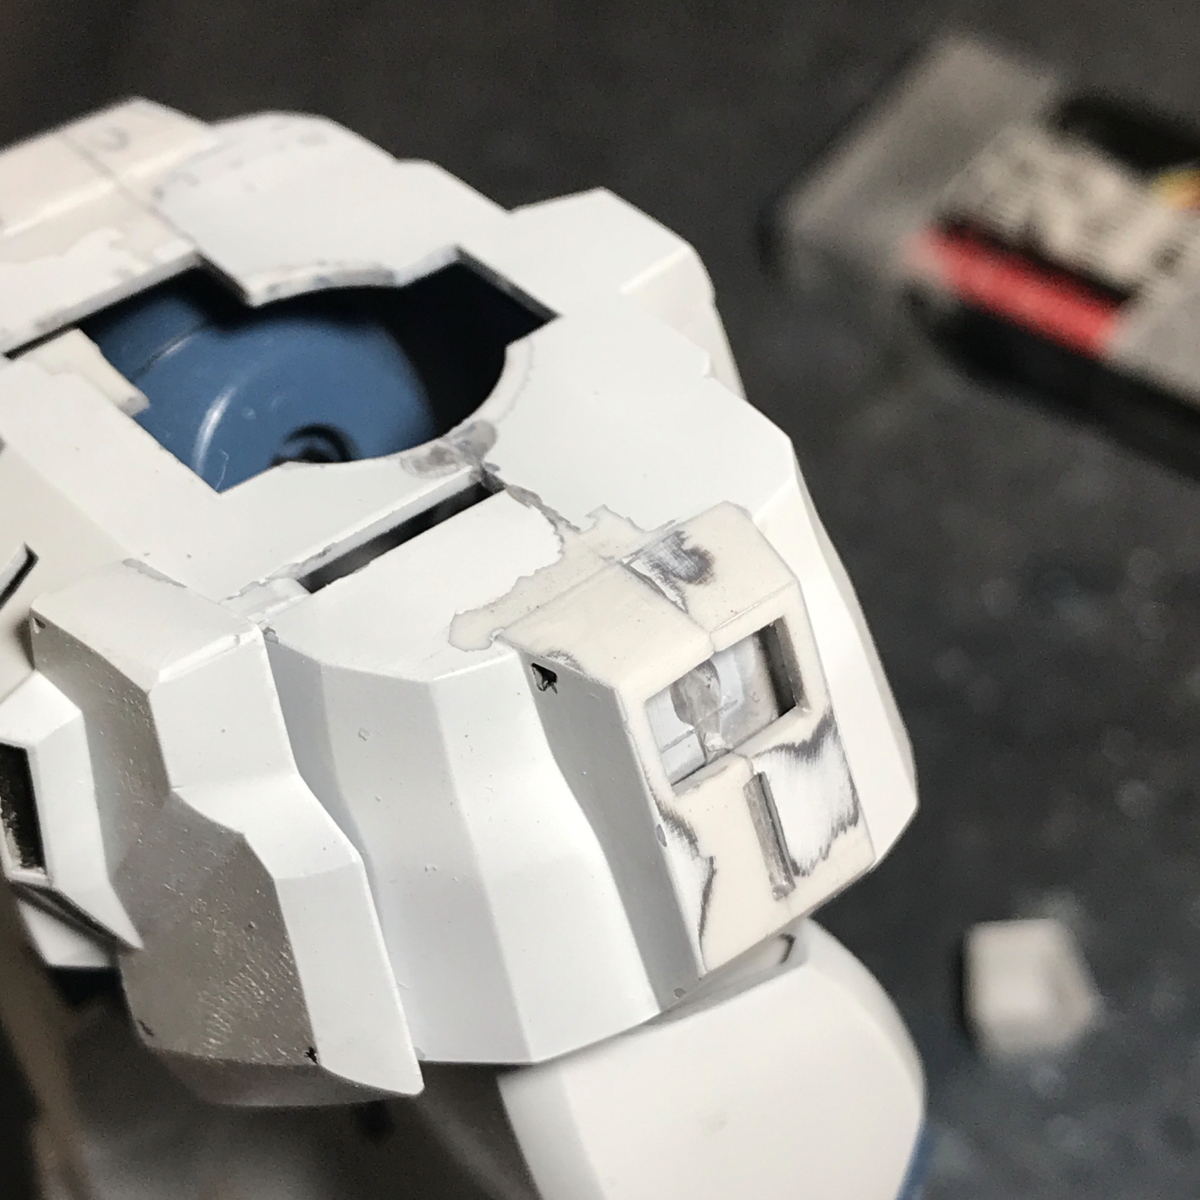
And when you paint it it looks like this. . .
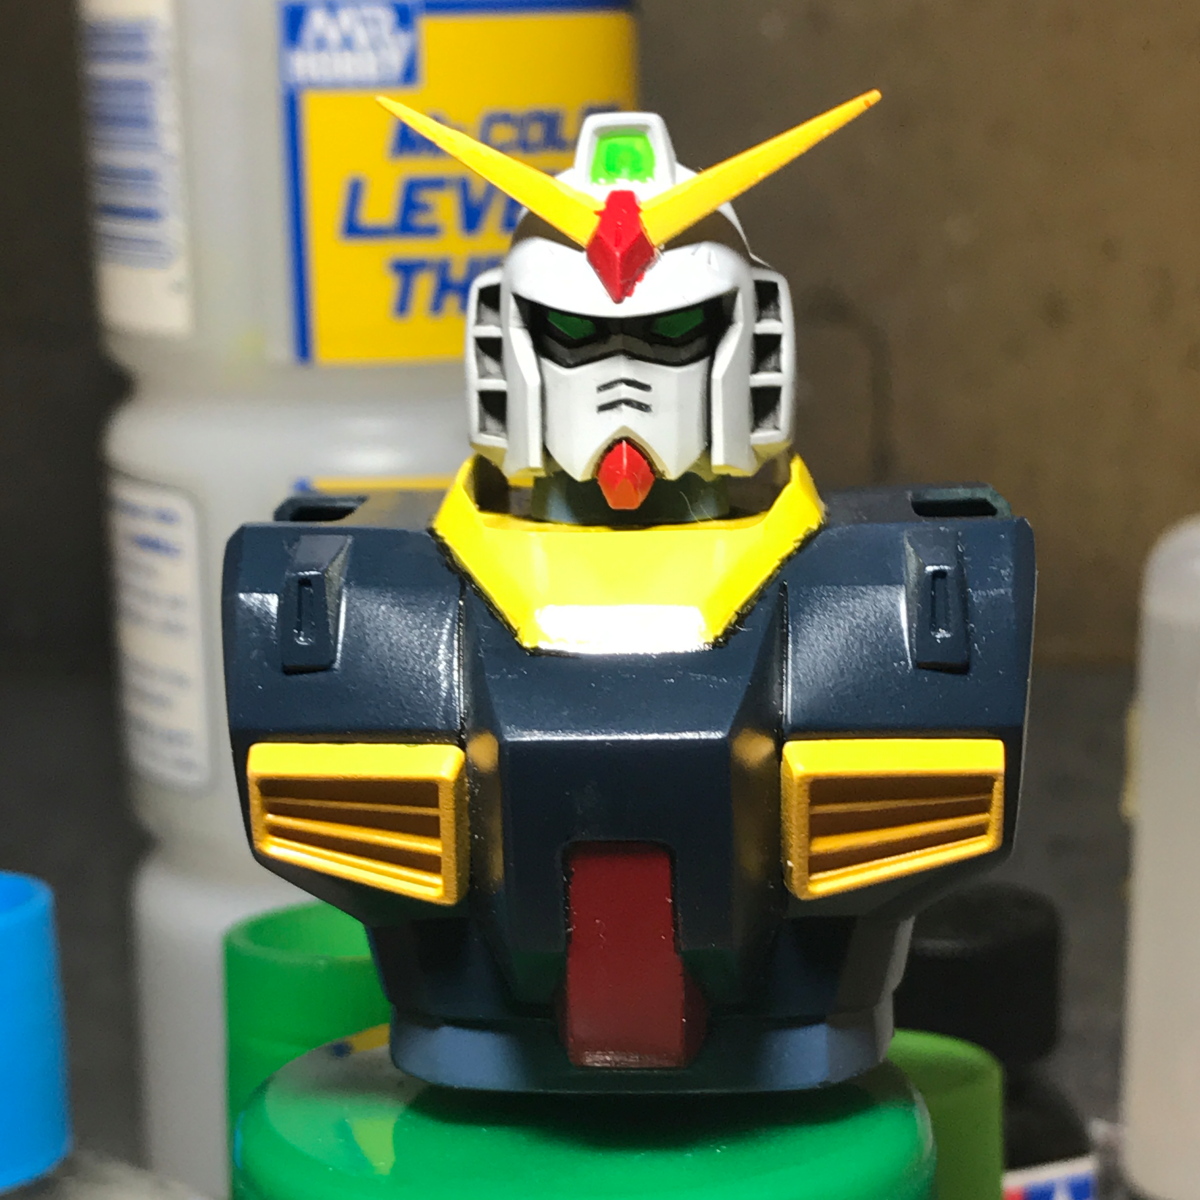
To paint the face, first paint the eye camera, then lightly paint the eyelid around the eyes with the black ink pen.
Finally, pour enamel inking paint.
However, my intention was to make the soy sauce look lighter, but a lot of inking paint flowed and the face became darker.
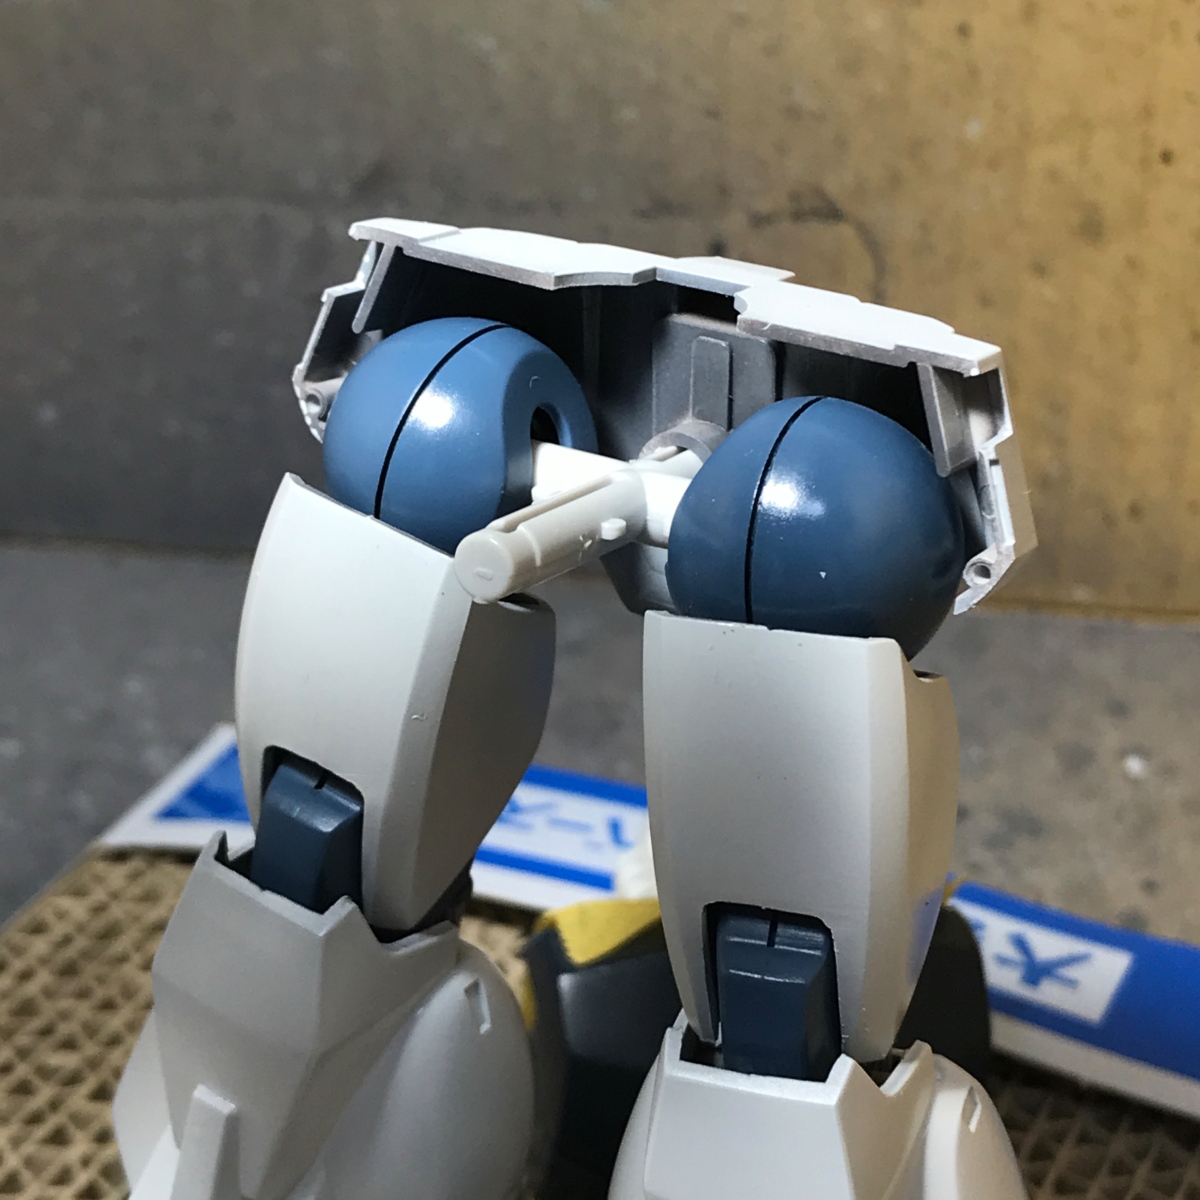
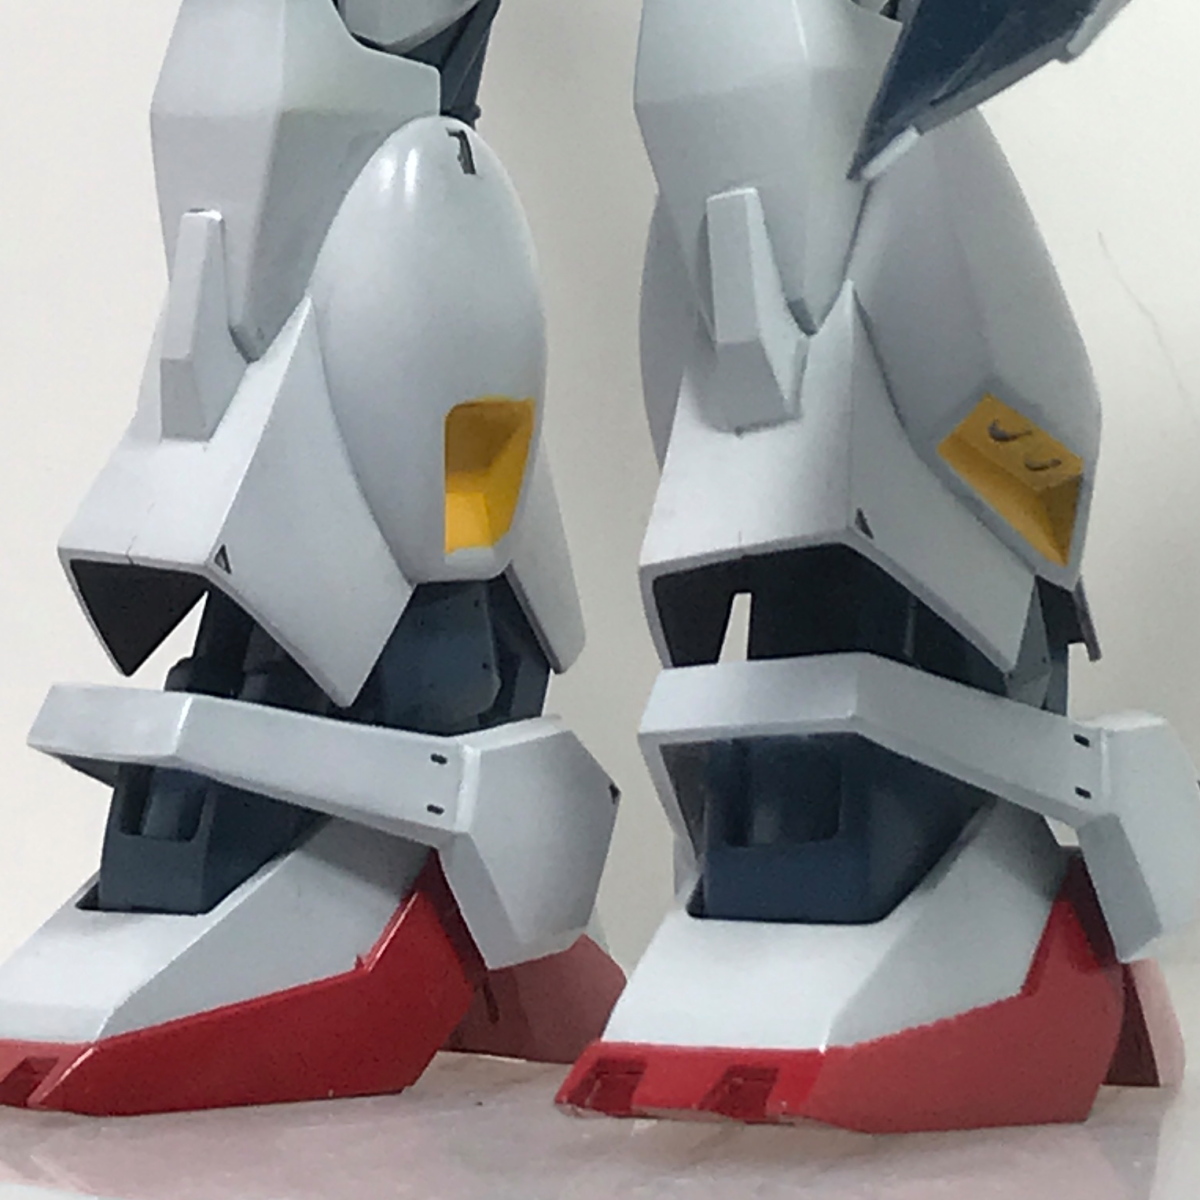
[Connection between lower body and upper body]
For the lower body, first pinch the foot joint. . .
Use a rasp to smooth the bonding surface of the parts.
 |
 |
 |
 |
I recommend that you precoat the parts in advance and repaint only the part of the adhesive surface that has been filed.
Then paint the red ankle. . .
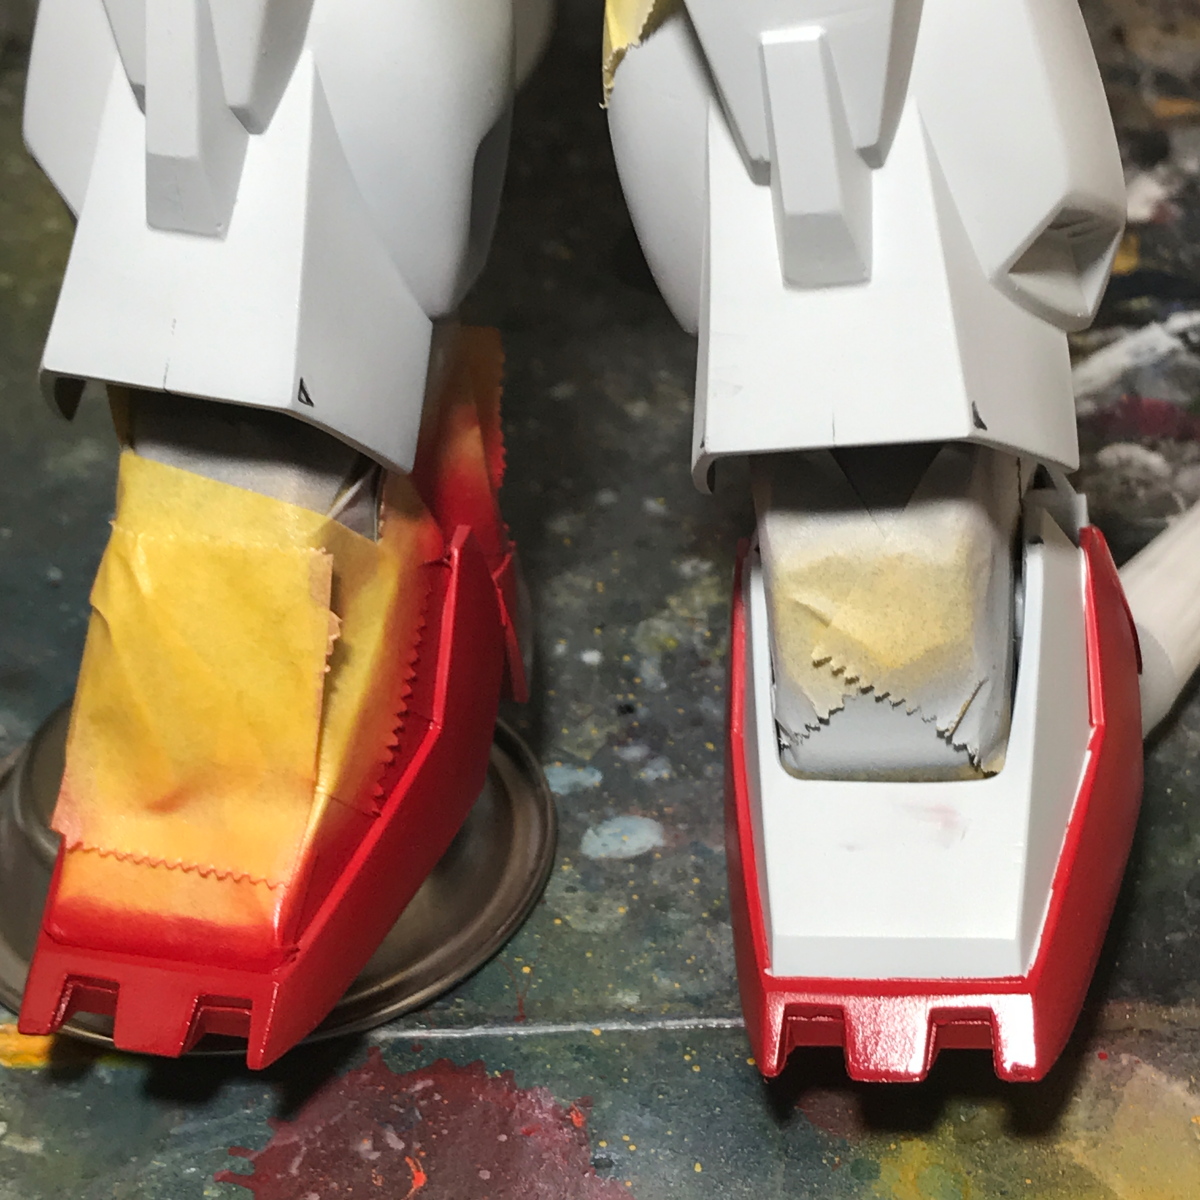
This side also needs masking.
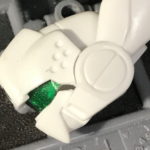
[Gundam marker airbrush system is convenient]
This time, I painted the details with the Gundam Marker Airbrush System.
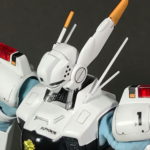
The painted areas are the V antenna, the shield window, the chest duct, and the vernier hole in the calf.
impression. . . very good.
To use, just put the Gundam marker on the tip of the airbrush.
It is very convenient not to clean the airbrush. . .
When blowing where only a small amount of paint is used, it is cumbersome to wash once, but the Gundam Marker Airbrush can easily change the color.

After applying the basic color, I think that it is good to paint the fine details while frequently changing the color of the pen.
In addition, there were rumors that it would be difficult to use a compressor with high air pressure, but Tamiya’s compact compressor was sufficient.
(The following joints also led to a compact compressor.)
However, you may need to get used to it, as it may feel different depending on the pen.
The video you are using for reference. . . (However, when the amount of ink at the pen tip decreases slightly and the output is bad … I’m sorry …)
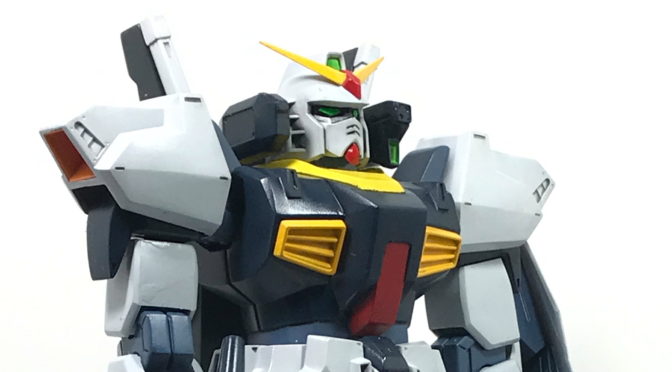
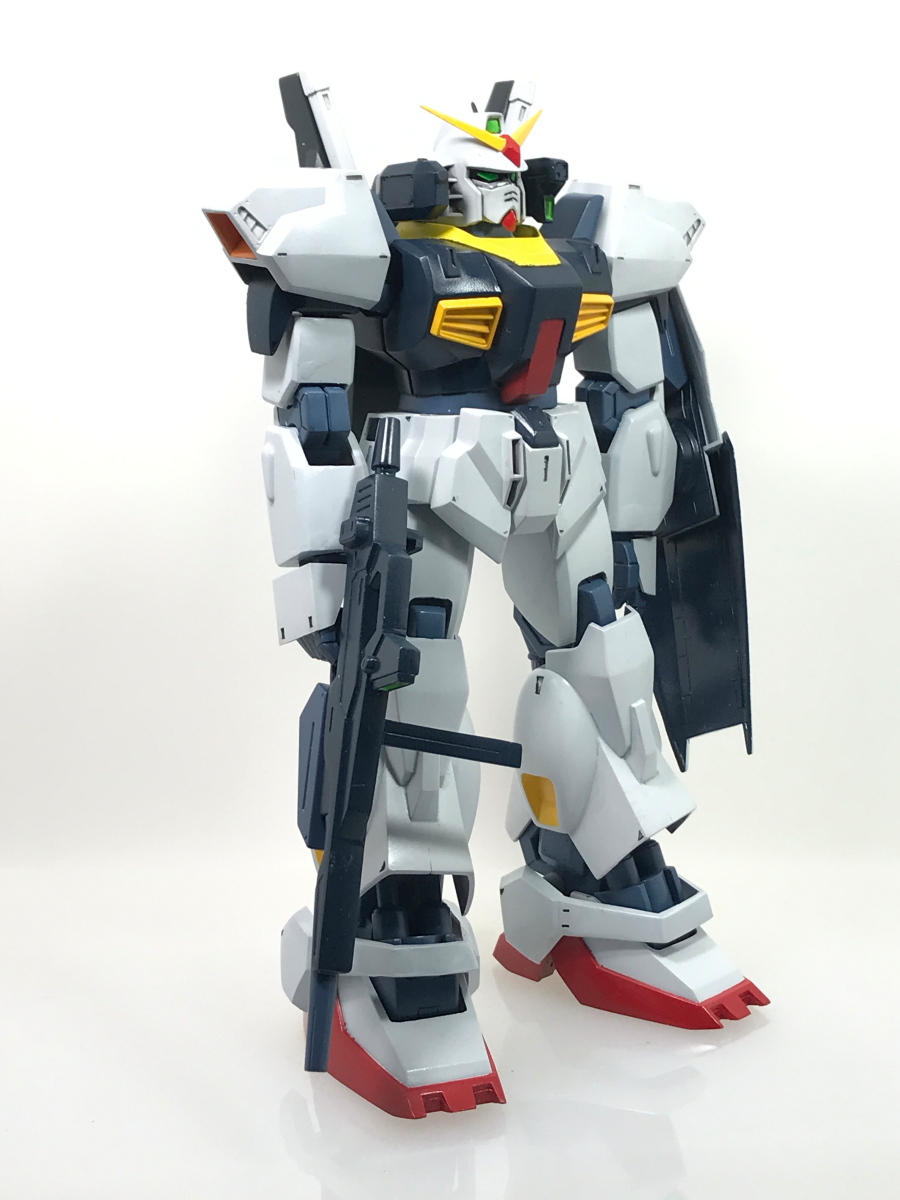
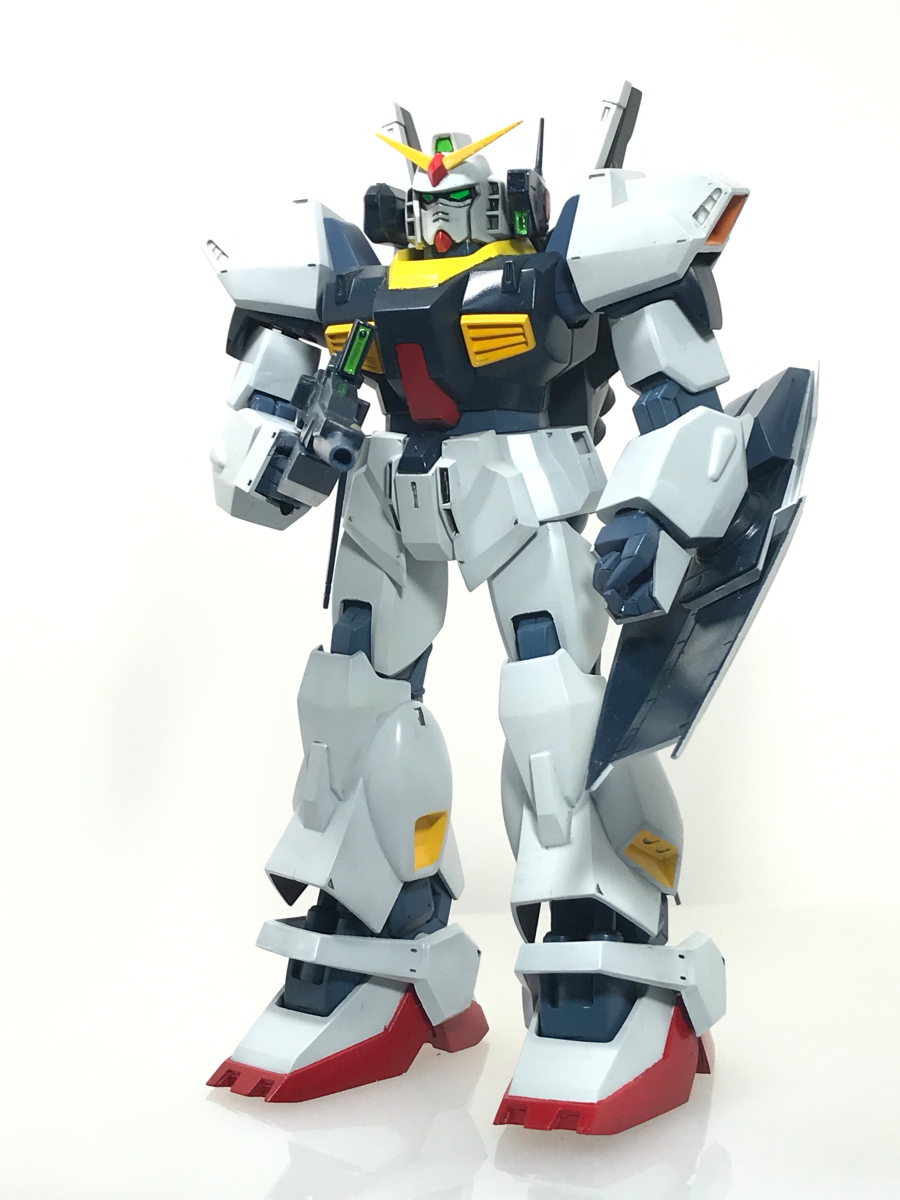
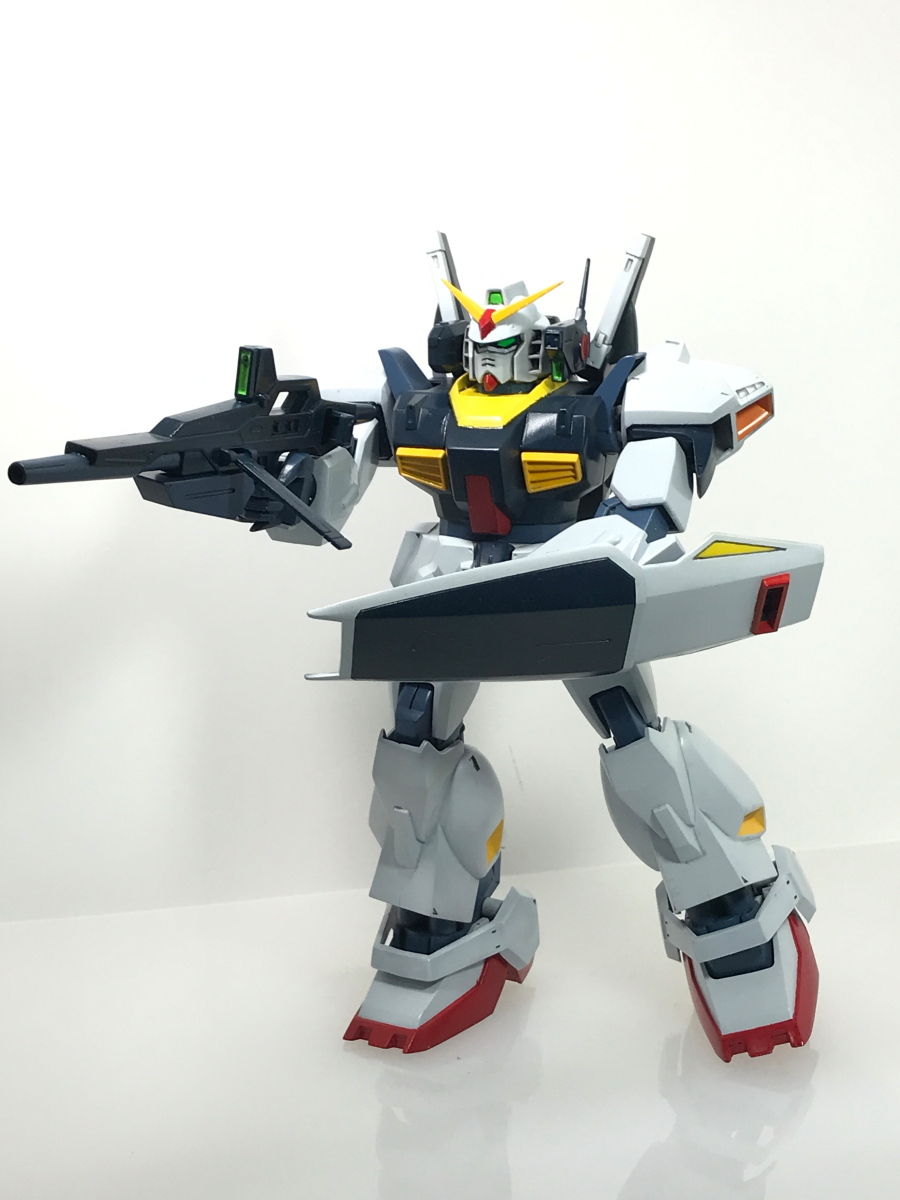
[Completed Gallery]
Volumey and cool.
The vernier on the back, too, was covered with a Gundam Marker airbrush.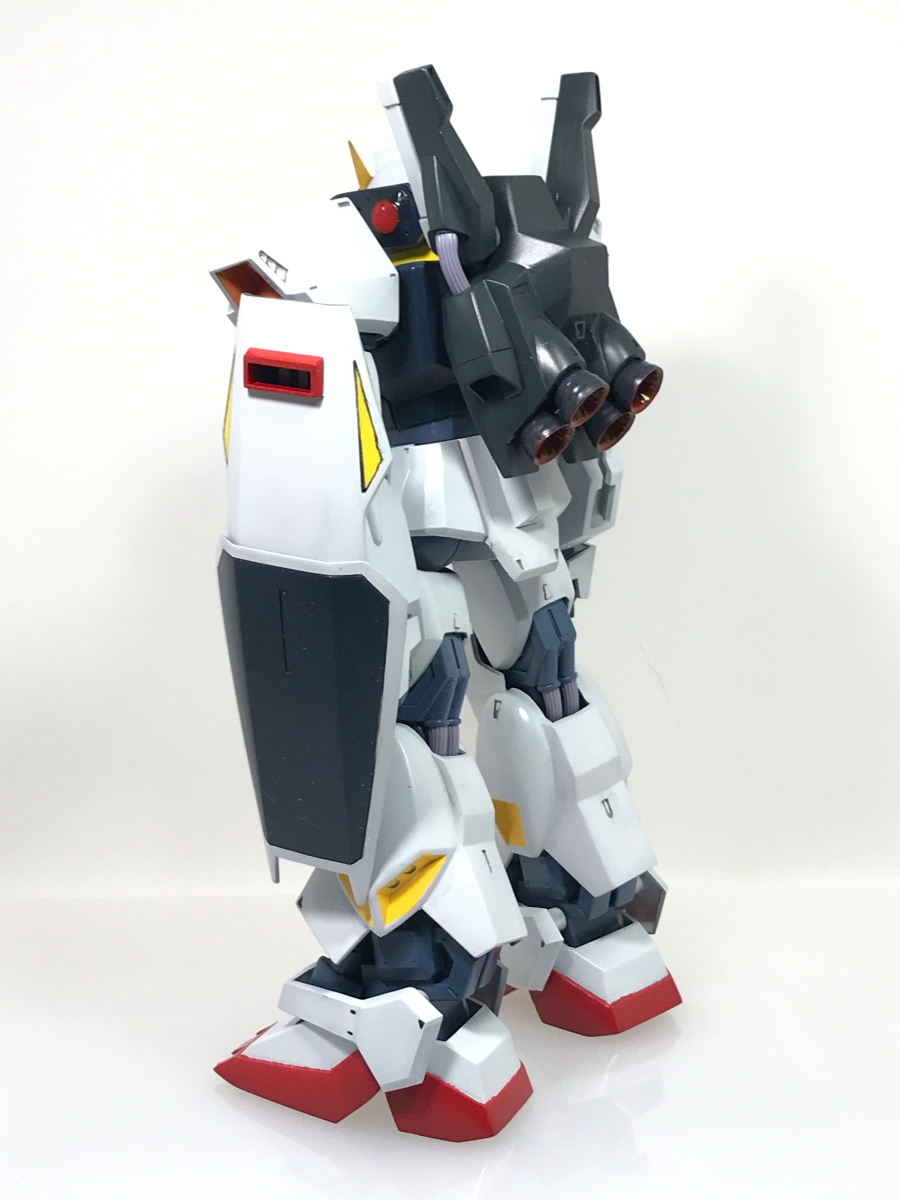
Poses are limited because there is not much hip range of motion.
Two-shot with MG Hyakushiki ver1.0.
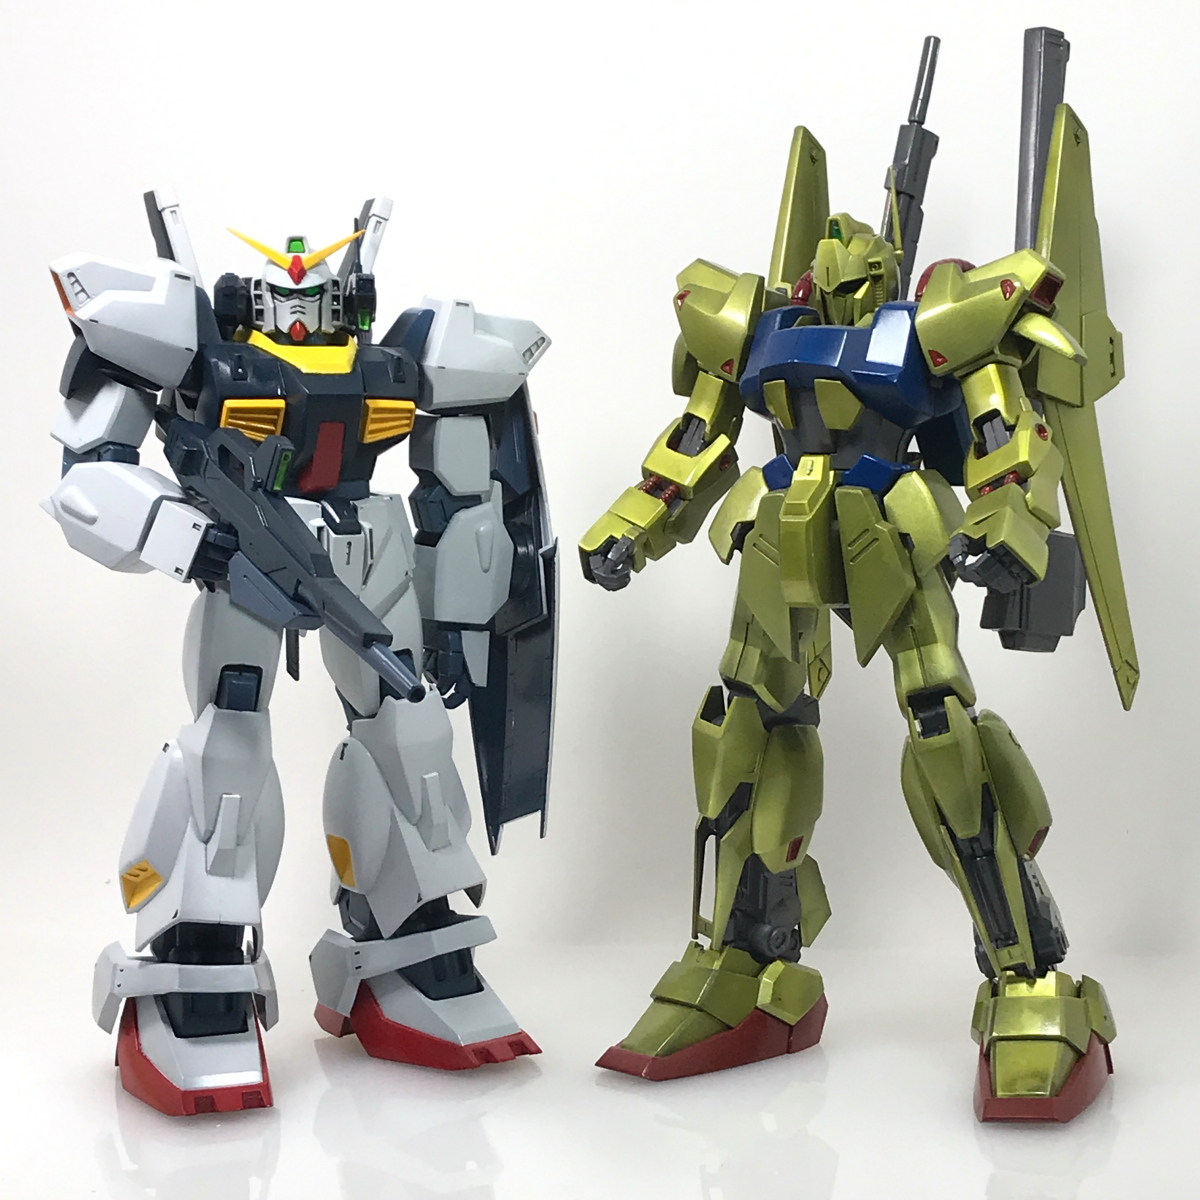
This time, I made it according to the color recipe.
As a result of carefully making it (returning the failed part and starting over), I think that it was finished beautifully.
It became a good practice for basic movements, and the Gundam Marker Airbrush also showed a good feeling, so it was a big harvest.
See you next week!
[Participating in the ranking]
![]()